Pruning
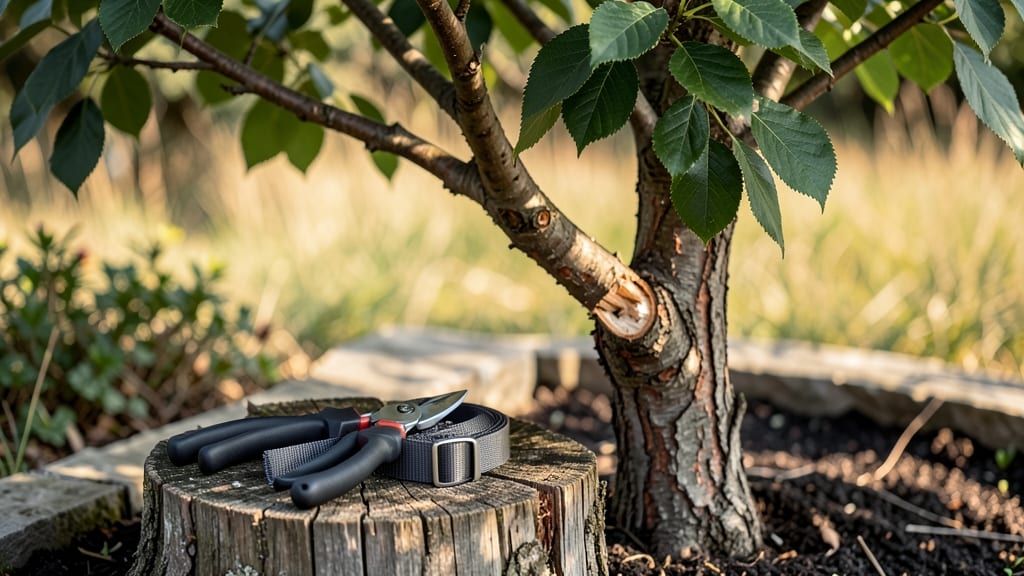
A broken tree branch isn’t the end of the story—it’s a chance to strengthen your tree’s structure and prevent future damage. ✂️ I’ve fixed more branches than I can count, and the right technique makes all the difference between a weak repair and one that holds for years.
The key is acting quickly, using the right tools, and understanding when a branch is too big or dangerous to DIY.
You’ll need basic supplies like sharp pruners, a splinting material (like wooden stakes or metal rods), and pruning sealant to protect the wound.
For smaller branches under 2 inches thick, this method works like a charm—but if the break is jagged, over 3 inches wide, or high up in the tree, call an arborist. Safety first, always.
What you’ll end up with is a properly supported branch that heals cleanly, with minimal risk of splitting further. The sealant keeps pests and disease out, while the splint gives the tree stability as it knits itself back together. Within a season, you’ll barely notice the break was ever there.
This works for fruit trees, shade trees, and even young saplings—just adjust the splint size and sealant amount to match the branch thickness. Let’s get that tree back in fighting shape.
📚 In This Guide
- What you need
- Instructions
- Tips and common mistakes
- Wrapping up and next steps
What you need
- ● Pruning shears or handsaw: Choose a sharp, bypass pruner (for smaller branches) or a pruning saw (for thicker limbs). Ensure the blade is clean and sanitized to prevent disease spread. 🔪
- ● Tree repair clips or branch collars: Select 3–5 sturdy, galvanized metal or plastic clips (size depends on branch thickness—typically 1–3 inches wide). Avoid cheap plastic if the branch is heavy or exposed to harsh weather.
- ● Rope or tree repair tape: Get 10–20 feet of ¼-inch nylon rope or waterproof, flexible tape (like Tree Mender) for extra support.
- ● Safety gear: Work gloves (cut-resistant)
- ● Safety glasses
- ● Non-slip shoes or boots
- ● Epoxy or tree wound dressing: For large breaks, a latex-based sealant (like Tanglefoot Tree Wound Dressing) can protect the wound from pests and disease. 🌡️
- ● Ladder or stump: If the branch is high up, a stable, extendable ladder (rated for your weight) or a tree stump will save you from awkward stretches.
- ● Sawdust or mulch: Keep some on hand to clean up debris and protect the base of the tree.
Step-by-Step instructions for repairing a broken tree branch
Here’s how I’ve successfully repaired broken branches—keeping trees healthy and strong.
✂️ Step 1: Assess the Damage and Gather Tools
First, examine the break carefully. Look for jagged edges or splits in the wood—these need attention before you can repair. You’ll need a few basic tools: clean, sharp pruning shears or a handsaw for trimming rough edges, a strong tree repair clamp or cable (if the break is large), and a small amount of tree wound dressing (optional but helpful for sealing). I always wear gloves to avoid splinters or sap irritation.
If the break is clean (no jagged tears) and the branch is less than 4 inches in diameter, you might not need anything beyond basic pruning. But if the break is messy or the branch is larger, grab a tree repair clamp or steel cable from your local garden center. These tools provide temporary support while the tree heals. Never skip this step—proper assessment prevents further damage.
🪴 Step 2: Trim Rough Edges and Clean the Break
Use your pruning shears to trim any jagged or torn edges of the break. Smooth the edges into a clean, slightly tapered shape—this helps the tree heal more naturally. The goal is to create a surface that looks like a natural break, not a rough tear. I like to imagine the tree’s own growth pattern: the cut should follow the branch’s natural curve.
Next, wipe away any sap or debris from the break with a damp cloth. This keeps the area clean and reduces the risk of infection. If the break is deep or exposed wood is visible, apply a thin layer of tree wound dressing (like Tanglefoot Tree Wound Pruning Sealer). This isn’t always necessary, but it can help protect the wound from pests or disease. Avoid over-applying—just a light coat is enough.
💧 Step 3: Support the Break with a Clamp or Cable
If the branch is large or the break is unstable, secure it immediately with a tree repair clamp or steel cable. For smaller branches (under 3 inches), a clamp is usually sufficient. Place the clamp snugly around the break, ensuring it doesn’t squeeze too tightly—just enough to hold the pieces together. For larger branches, use a steel cable tied in a figure-eight pattern around the break. This provides extra support while the tree heals.
Check the clamp or cable every few weeks to make sure it’s still secure. Over time, the tree will start to grow new tissue around the break, but the support should stay in place for at least 6-12 months. If you notice the branch shifting or the clamp loosening, tighten it again. This step is critical for preventing further damage, especially in windy conditions.
☀️ Step 4: Monitor and Encourage Healing
After repairing the break, keep an eye on the area over the next few weeks. Healthy healing tissue will appear as a smooth, calloused growth around the wound. If you see signs of rot, mold, or pests (like beetles or fungus), act quickly. Scrape away any infected tissue and reapply wound dressing if needed. I’ve seen branches heal beautifully when given proper care—just be patient.
Water the tree deeply if your area has experienced drought, but don’t overdo it. The goal is to keep the soil moist but not soggy. Mulch around the base of the tree (but not touching the trunk) to retain moisture and protect the roots. Avoid fertilizing the tree immediately after the repair—let it focus on healing first. With time, the break will become just a scar, and the tree will continue growing strong.
Tips & tricks for repairing broken tree branches
Here's what I've learned after fixing countless broken branches—tricks that make all the difference between a temporary fix and lasting strength.
Tool Selection Matters: For branches under 3 inches, a basic tree repair clamp is perfect—just make sure it's made of durable plastic or metal that won't damage the bark. For larger branches (3-4 inches), invest in a steel cable with sturdy hooks. I've seen cheap clamps fail within weeks, so don't skimp on quality. The clamp should stay secure for at least 6-12 months without loosening.
Cleanliness is Critical: When you wipe away sap and debris in Step 2, don't just do a quick swipe—really scrub the area with a damp cloth to remove all residue. I've seen branches develop rot because small pockets of sap were left behind. A clean break heals faster and is less attractive to pests. Think of it like cleaning a wound before applying a bandage.
Clamp Placement Technique: When securing with a clamp or cable in Step 3, position it so it's centered over the break—not just on one side. The goal is to support the entire damaged area evenly. I've fixed branches where the clamp was placed too far from the break, leaving part of the wound unsupported. For cables, tie the figure-eight pattern snugly but not too tight—you should be able to fit about a quarter between the cable and the branch.
Healing Timeline: The 6-12 month support period is non-negotiable for larger branches. I've removed clamps too soon and watched branches snap again during storms. For smaller branches (under 2 inches), you can usually remove support after 3-4 months if the healing tissue looks strong. Always check for flexibility—if the break still feels loose, leave the support in place.
Pro Tips for Fix A Broken Tree Branch
- Here's what I've learned after fixing countless broken branches—tricks that make all the difference between a temporary fix and lasting strength.
- Tool Selection Matters: For branches under 3 inches, a basic tree repair clamp is perfect—just make sure it's made of durable plastic or metal that won't damage the bark.
- Cleanliness is Critical: When you wipe away sap and debris in Step 2, don't just do a quick swipe—really scrub the area with a damp cloth to remove all residue.
Frequently asked questions
Got questions about fixing a broken tree branch? You’re not alone! Here are some of the most common concerns—and straightforward answers—to help you tackle the job with confidence.
Can I fix a broken tree branch myself, or should I call a professional?
For smaller branches (under 4 inches in diameter) or minor breaks, DIY repair is totally doable with the right tools and technique. However, if the break is large, the tree is a valuable specimen, or the damage is near power lines, it’s safer to call an arborist. When in doubt, consult a pro!
What’s the best time of year to repair a broken tree branch?
The ideal time is late winter or early spring, when the tree is dormant but about to wake up. This gives it time to heal before summer stress. If the break is fresh (within a few weeks), you can repair it anytime—just avoid extreme weather (like freezing temps or heavy rain) for 24–48 hours post-repair.
What if the break is jagged or splintered? Can I still fix it?
Yes! Smooth out rough edges with a pruning saw or file to prevent further damage or pest entry. If the break is too jagged for a clean splice, consider using a tree branch repair clamp or epoxy to stabilize it. Just ensure the surfaces are clean and dry before applying any adhesive.
Will the tree grow back together naturally, or do I need to intervene?
Small breaks (under 2 inches) in flexible branches might heal on their own over time, but larger or permanent breaks need intervention to avoid rot, disease, or further splitting. Even if it looks stable, securing the break with a repair method (like a splice or clamp) speeds up healing and supports stronger regrowth.
What if the branch snaps again after I fix it?
If a repaired branch breaks again, it’s a sign of weak wood, poor repair, or an unstable angle. Reassess the break: Is the tree too heavy for its structure? Did you use the right materials? In severe cases, you may need to prune the branch entirely and consult an arborist to assess the tree’s overall health.
Still stumped? Drop your specific scenario in the comments—we’re happy to help!
Wrapping up and next steps
Fixing a broken tree branch doesn’t have to be overwhelming—with the right tools, patience, and care, you can help your tree heal and thrive! 🌳 Whether you chose to splint, prune, or use a cabling technique, the key is acting quickly and following proper aftercare.
Your efforts will not only restore the tree’s strength but also encourage healthier growth for years to come.
Ready to give your tree the TLC it deserves? Grab your supplies, roll up your sleeves, and get started today! For more tips on tree maintenance, check out our guide on seasonal pruning best practices.