
Pruning
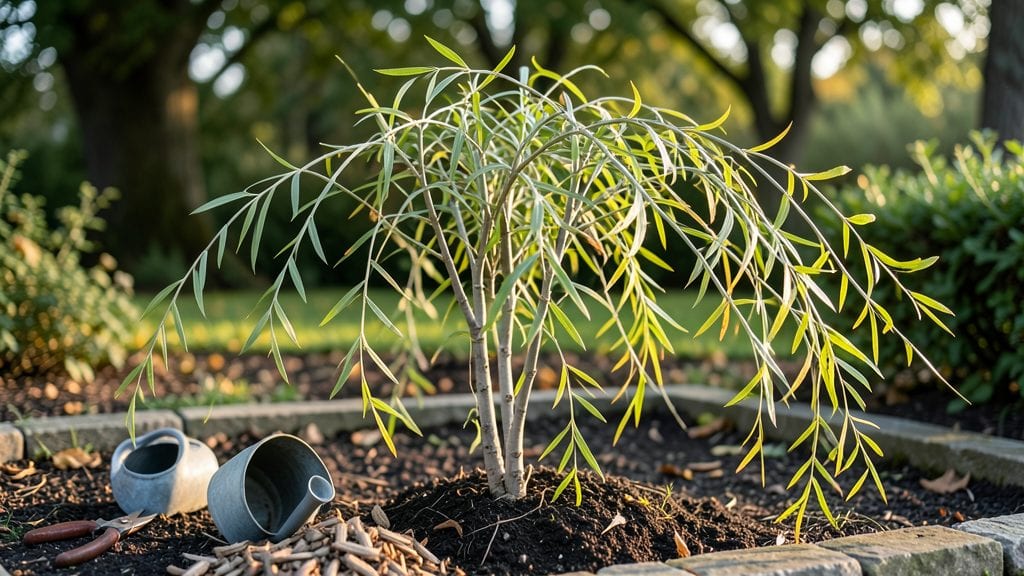
Transforming your garden into a living work of art starts with a weaved willow tree—those graceful branches that can twist into privacy screens, arbors, or even whimsical trellises. 🌿 I remember the first time I saw a willow arch draped with climbing roses; it felt like magic, but the truth is even simpler than it looks.
The secret lies in selecting the right willow variety—salix viminalis or salix purpurea are the best for weaving—and training them while they're still young and flexible.
This project is all about patience and creativity. You'll need young, pliable branches (about pencil-thick), sturdy stakes for support, and a sunny spot with moist soil—willows love water, after all.
The process takes time, but the results are stunning: a living fence that grows with your garden, a fragrant arbor for your morning coffee, or even a rustic gate for your vegetable patch. The best part? It's completely customizable to fit your space and style.
Imagine stepping through an archway of fresh green leaves in spring, or watching your willow fence sway gently in the breeze all summer long. The texture of the woven branches adds depth and movement to any garden, while the natural beauty of willow makes it a standout feature.
Plus, it's a low-maintenance solution that gets more elegant with each passing season. Ready to bring this organic artistry to your backyard?
Whether you're creating a full privacy screen or just a decorative accent, willow weaving adapts to any garden size. Start small with a simple trellis or go big with a sprawling living fence—your garden will thank you for the natural, ever-changing beauty.
The only limit is your imagination, and the tools are just a trip to the nursery away.
📚 In This Guide
- What you need
- Instructions
- Tips and common mistakes
- Wrapping up and next steps
What you need
- ● Willow branches: 10–15 live, flexible willow cuttings (1/2" to 3/4" in diameter), approximately 6–8 feet long. Choose from Salix babylonica (weeping willow) or Salix viminalis (osier willow) for best results.
- ● Support structure: 4–6 sturdy wooden or metal posts (4" x 4" or 2" diameter), 6–8 feet tall, spaced 4–6 feet apart in a semi-circle or straight line.
- ● Twine or jute rope: 100–200 feet of natural, biodegradable twine (3/8" width) for weaving.
- ● Water source: A bucket or hose for keeping cuttings hydrated.
- ● Pruning shears: Sharp, clean shears for trimming branches.
- ○ Rooting hormone (optional but recommended): A small bottle to encourage root growth.
- ● Gloves: Heavy-duty gardening gloves to protect your hands.
- ● Measuring tape: For precise spacing between posts.
- ● Post hole digger or auger: To secure posts firmly in the ground.
- ● Staple gun or zip ties: To attach twine to the support structure.
- ○ Waterproof sealant (optional): For extending the life of wooden posts.
Step-by-step instructions for crafting a weaved willow tree privacy screen
Here's how to transform willow branches into a living, breathable privacy screen that grows more beautiful each season.
🌿 Step 1: Select and Prepare Willow Branches
Choose flexible willow branches that are 3-5 feet long and about ½ inch thick—you'll need four bundles of 20 branches each for a 4-foot-tall screen. Harvest them in late winter or early spring when sap is rising for maximum pliability. Trim off any side shoots and leaves, leaving just the main stem.
Soak the branches in lukewarm water for 24 hours to soften them further. This makes weaving easier and prevents them from snapping when you bend them. Drain and pat dry before handling—wet branches are slippery and harder to control. I like to work in small batches of 10 branches at a time to keep them from drying out while I weave.
🪴 Step 2: Create the Foundation Structure
Drive four 4-foot wooden stakes into the ground at 6-foot intervals to form a rectangle. These will be your vertical supports. Tie them together at the top with twine or jute twine, creating a square frame. The stakes should be 1 foot deep for stability—dig a small hole with a trowel, insert the stake, and pack soil around it firmly.
Next, weave a horizontal base by tying branches horizontally between the stakes at 12-inch intervals. Use three rows of branches for the bottom third of the screen—this creates a sturdy foundation for your vertical weaving. Space the branches 2 inches apart and secure them with twine at each stake. This grid is where you'll anchor your vertical weave.
✂️ Step 3: Weave the Vertical Screen
Start weaving by tying the first bundle of branches vertically between the top and bottom horizontal supports. Space them 6 inches apart and secure them at both the top and bottom with twine. Bend each branch gently as you go—willow is flexible but will spring back slightly, so don't force it.
For the second row, offset the branches by 3 inches from the first row. This creates a staggered pattern that adds texture and strength. Continue alternating rows, weaving in a zigzag pattern until the entire screen is filled. You'll use three bundles total for a dense, lush look. Step back occasionally to check for gaps—fill any large openings with additional branches tied in place.
💧 Step 4: Water and Maintain Growth
Water the base of the screen deeply every 2-3 days for the first two weeks to encourage root growth. Willow branches will sprout new leaves and roots where they touch the soil—this is how your screen becomes self-sustaining. After establishment, water once a week unless your climate is particularly dry. You'll know it's thriving when new shoots appear along the branches.
Trim any branches that grow too long or become tangled every 4-6 weeks during the growing season. This keeps the screen neat and encourages bushier growth. In late fall, cut back any dead or weak branches, but leave the healthy ones—they'll regrow quickly in spring. Mulch the base with 2-3 inches of organic mulch to retain moisture and suppress weeds.
☀️ Step 5: Encourage Seasonal Growth and Privacy
Fertilize lightly in early spring with a balanced organic fertilizer to boost leafy growth. Willow trees are fast-growing, so they don't need heavy feeding—just a light application every 6 weeks during the growing season. You'll notice new leaves unfurling within 2-3 weeks of fertilizing, signaling that the screen is filling in beautifully.
By mid-summer, your screen should be dense enough to provide full privacy while still allowing airflow. The natural movement of the branches adds a soothing, rustic charm. If any gaps appear, weave in additional branches or let the willow grow taller—it'll fill in over time. With proper care, your living screen will thrive for 5-10 years, offering both beauty and functionality.
Tips & tricks for perfect weaved willow tree privacy screen
A few clever strategies will help your living privacy screen grow lush and sturdy from day one. Here’s what I’ve learned from years of working with willow branches—trust me, these details make all the difference.
The Soaking Secret: That 24-hour soak in lukewarm water isn’t just about flexibility—it’s about survival. Willow branches absorb moisture through their cut ends, so if you’re short on time, you can soak them for just 12 hours, but they’ll be less pliable. Pro tip: Use a bucket with a tight lid to keep the water temperature consistent. Cold water slows the process, while hot water can damage the branches.
Stake Stability Matters: When driving those 4-foot wooden stakes, don’t just eyeball the depth. Use a measuring tape to ensure they’re buried exactly 1 foot deep—this prevents wobbling when you start weaving. I’ve seen screens collapse because stakes weren’t secure enough. For extra stability, especially in windy areas, drive two stakes at each corner instead of one.
Weaving Wisdom: In Step 3, when you’re offsetting branches by 3 inches, think of it like a basket weave—this staggered pattern creates a stronger structure and hides gaps better. If you notice branches springing back too much, gently twist them slightly as you tie them off. This helps them hold their shape longer. And here’s a game-changer: Use a small hammer to gently tap the base of each stake into the ground after tying—this locks everything in place.
Watering Strategy: Those first two weeks are critical for root growth, so don’t skip the deep watering every 2-3 days. I like to use a soaker hose buried 2 inches deep at the base—it delivers water directly to the roots without wasting any. After establishment, switch to a drip irrigation system if possible. It saves time and keeps moisture consistent, which is especially helpful if you travel often.
Pro Tips for Weaved Willow Tree
- A few clever strategies will help your living privacy screen grow lush and sturdy from day one.
- The Soaking Secret: That 24-hour soak in lukewarm water isn’t just about flexibility—it’s about survival.
- Stake Stability Matters: When driving those 4-foot wooden stakes, don’t just eyeball the depth.
Frequently asked questions
Got questions about creating or maintaining your weaved willow tree privacy screen? You’re not alone! Here are some of the most common inquiries—plus quick, practical answers to help you craft the perfect natural barrier.
How long does it take for a weaved willow tree to grow into a dense privacy screen?
A weaved willow tree can grow surprisingly fast—expect noticeable growth within 1–2 years if planted in the right conditions. With proper care (watering, pruning, and soil prep), you’ll see a lush, 6–8-foot-tall screen in 3–5 years. Patience pays off, but the wait is worth the natural beauty!
When is the best time to prune a weaved willow tree for optimal growth?
Prune your willow tree late winter or early spring (just before new growth starts) to encourage healthy, dense weaving. Avoid heavy pruning in fall, as it can stimulate tender new growth that won’t survive frost. Light trimming to shape the weave can happen summer or early fall, but skip aggressive cuts.
How much water does a weaved willow tree need, especially in hot/dry climates?
Willow trees are thirsty—especially when young! Water deeply 2–3 times per week during the first year, ensuring the soil stays 2–3 inches moist. Once established (after 2 years), they tolerate drought better but still need 1–2 inches of water weekly. Mulch helps retain moisture!
Can I weave other fast-growing plants (like bamboo or ivy) instead of willow?
While willow is ideal for weaving due to its flexible branches and rapid growth, alternatives like bamboo (aggressive roots!) or ivy (slower, less durable) work differently. For a similar look, try pussy willow or osier willow—both are perfect for weaving. Avoid rigid plants like boxwood or holly.
What pests or diseases should I watch for in my weaved willow tree?
Willow trees are generally hardy, but keep an eye out for aphids, willow leaf beetles, or fungal issues (like powdery mildew) in humid climates. Treat pests with neem oil or insecticidal soap, and ensure good airflow to prevent disease. Overwatering or poor drainage can also invite root rot—so don’t soggy the soil!
Wrapping up and next steps
Creating a weaved willow tree privacy screen is more than just a gardening project—it’s an art that blends nature’s grace with your hands. Whether you’re drawn to its rustic charm or the serene privacy it offers, this living masterpiece is a rewarding way to elevate your outdoor space. 🌿✨
Ready to bring your vision to life? Start by gathering your tools and willow branches, then dive into the step-by-step process with confidence. Your future privacy haven is just a few cuts and weaves away!
- Next step: Sketch your design on paper first to visualize the layout and height.
- Pro tip: Involve friends or family—turning it into a fun, collaborative project!