
Pruning
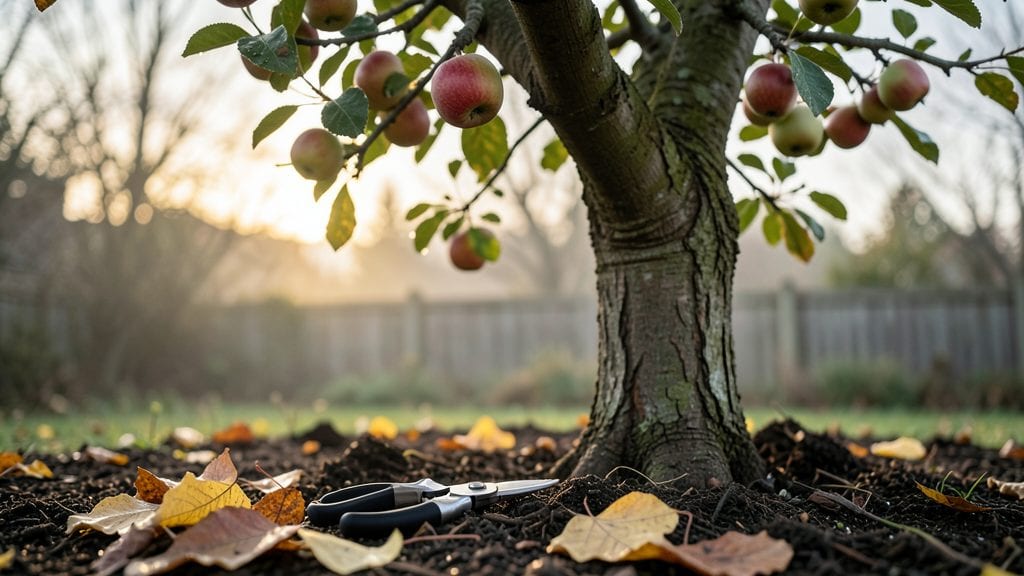
Fall is the perfect time to prune apple trees for next year’s harvest—just after leaves drop but before hard frost sets in. 🍏 I’ve learned that skipping this step means weaker branches, fewer apples, and a tree that struggles to fight off disease.
The right cuts now set the stage for stronger growth and bigger fruit in spring.
You’ll need just a few tools: sharp pruning shears for small branches, loppers for thicker limbs, and a saw for anything larger than 2 inches. The key is making clean cuts at the right angle—about a quarter-inch above a bud or branch collar—to prevent disease from creeping in.
Timing matters too: prune too early, and you risk encouraging new growth that won’t harden off before winter.
With these 4 targeted cuts, you’ll remove dead wood, open up the canopy for sunlight, and shape the tree to prevent overcrowding. A properly pruned apple tree rewards you with healthier branches, better air circulation, and fruit that ripens evenly.
Plus, it’s easier to spot pests and diseases when the tree is open and airy.
Whether you’re in a mild climate like Zone 7 or a colder Zone 4, the principles stay the same—just adjust the timing slightly. Warmer regions can prune later into fall, while colder zones should finish by early November. Let’s get those branches looking sharp for spring!
📚 In This Guide
- What you need
- Instructions
- Tips and common mistakes
- Wrapping up and next steps
What you need
- ● Pruning shears: Bypass pruners (for cuts under ½ inch) – 1 pair (look for sharp, stainless steel blades for clean cuts).
- ● Loppers: Bypass or anvil type (for branches ¾–2 inches thick) – 1 pair (extendable handles help with reach!).
- ● Pruning saw: Curved-tooth or bow saw (for branches over 2 inches) – 1 saw (with a sharp, fine-toothed blade for clean cuts).
- ● Disposable gloves: Heavy-duty, cut-resistant – 1–2 pairs (to protect hands from thorns and sap).
- ○ Tree wound paint or pruning sealant: Optional but helpful (for larger cuts > ½ inch) – 1 small bottle (look for natural, non-toxic options like Tanglefoot).
- ● Disinfectant: Rubbing alcohol (70%+) or bleach solution (1 part bleach to 9 parts water) – small bottle (to sterilize tools between cuts and trees).
- ● Ladder or step stool: Sturdy, non-slip – 1 (if your tree is taller than 6 feet; never stand on shaky surfaces!).
- ● Heavy-duty trash bags: For debris removal – 2–3 bags (or a wheelbarrow if you have a large tree).
- ● Pole pruner: Extendable loppers (for high branches) – 1 (saves your ladder time!).
- ● Safety glasses: For debris protection – 1 pair (especially if branches are brittle).
- ● Marking spray: Bright paint (to mark cuts before pruning) – small can (helps visualize the final shape).
- ● Tree pruning guidebook or app: For reference (e.g., “The Pruning Book” by Lee Reich or iTree app).
- ● First-aid kit: Basic supplies (for minor scrapes or sap burns).
Step-by-step guide for pruning apple trees in fall
Here's how I transform apple trees into stronger, more productive plants with just four strategic cuts.
✂️ Step 1: Remove Dead, Diseased, or Damaged Branches First
Start by identifying branches that are completely dead, showing signs of disease (like fungal spots or oozing cankers), or physically damaged from storms or pests. These branches won’t recover and can spread problems to healthy wood. Use sharp bypass pruners to make clean cuts just outside the branch collar—the swollen area where the branch meets the trunk.
I always cut at a slight angle (about 45 degrees) to prevent water from pooling on the cut surface. If a branch is larger than ½ inch thick, use a pruning saw for a smooth cut. Remove these branches first—they’re the easiest to spot and the most critical to eliminate before making any other cuts.
✂️ Step 2: Thin Out Overlapping or Crossing Branches
Next, look for branches that rub against each other or grow directly across another branch. These crossings create wounds that invite disease and weaken the tree’s structure. Choose the smaller of the two branches to remove—it’s less stressful on the tree. Cut back to the branch collar, just like you did with the dead wood.
I like to step back and look at the tree from all sides after each cut. You’ll notice how much more open the canopy becomes. This isn’t just about aesthetics—thinning branches improves air circulation, which reduces humidity in the tree and prevents fungal infections. Aim to remove about 10-20% of the tree’s total branches in this step.
✂️ Step 3: Prune Back Last Year’s Growth to Encourage New Fruit Buds
Now focus on the smaller branches that grew last season. These are the ones that will bear fruit next year, but they need to be pruned back to about ½ to ⅔ of their length. This might sound drastic, but it stimulates the tree to produce more fruit buds and stronger growth. Cut just above an outward-facing bud to encourage the new branch to grow outward, away from the center of the tree.
I make these cuts just outside the bud, at a 45-degree angle, to prevent water from sitting on the cut. You’ll see the difference immediately—the tree will look more open and less dense. This step is where you’ll see the most immediate impact on next year’s fruit production.
✂️ Step 4: Shape the Tree for Balance and Sunlight Access
Finally, step back and assess the tree’s overall shape. Your goal is to create a balanced, open canopy that lets sunlight reach all parts of the tree. Remove any branches that are growing inward or downward—they’ll compete with each other and block light. Focus on keeping the tree’s natural shape while opening it up to maximize fruit production.
I always finish by checking for any remaining branches that are too close together or growing in odd directions. A little extra shaping now means fewer cuts next year. After you’re done, clean up all the pruned branches and dispose of them properly—never leave them on the ground, as they can harbor pests and diseases.
Tips & tricks for pruning apple trees in fall
These essential tips will help you prune like a pro and keep your apple trees thriving for years to come.
The Angle Matters: That 45-degree angle mentioned in Step 1 isn't just for show—it's crucial for proper healing. When you cut at this angle, you're creating a sloped surface that allows water to run off rather than pool on the wound. This simple adjustment prevents rot and speeds up the healing process, which is especially important for larger cuts over ½ inch thick. I've seen too many pruning wounds fail because of this overlooked detail.
Timing is Everything: Fall pruning gives your tree time to heal before winter dormancy, but don't wait too late. Aim to finish by late November to allow at least 4-6 weeks of healing before cold sets in. This timing prevents late-season growth that won't harden off properly before winter. I always mark my calendar with the first frost date and work backward to schedule my pruning.
Branch Collar Awareness: The branch collar—the swollen area where branches meet the trunk—is your guidepost. Never cut flush with the trunk or into the collar, as this creates wounds that never properly heal. In Step 3, when pruning back last year's growth, look for that collar and cut just outside it. This technique ensures new growth emerges from the right location, maintaining the tree's natural structure.
Cleanup is Critical: After you're done pruning, don't just leave branches on the ground—they can harbor pests and diseases that will reinfect your tree. Remove all pruned material from the area and either burn it or dispose of it in yard waste. I keep a heavy-duty trash bag handy and fill it as I work, making cleanup a breeze. This simple step can prevent years of pest problems down the road.
Pro Tips for Pruning Apple Trees In Fall
- These essential tips will help you prune like a pro and keep your apple trees thriving for years to come.
- The Angle Matters: That 45-degree angle mentioned in Step 1 isn't just for show—it's crucial for proper healing.
- Timing is Everything: Fall pruning gives your tree time to heal before winter dormancy, but don't wait too late.
Frequently asked questions
Got questions about pruning your apple trees in the fall? You’re not alone! Here are some of the most common concerns—plus clear, actionable answers to keep your orchard thriving.
When is the exact best time to prune apple trees in fall?
Prune apple trees in late fall (after leaf drop but before hard frost) or early winter (before buds swell in spring). Aim for temperatures between 30–45°F (–1–7°C) to minimize disease risk. Avoid pruning during wet or freezing conditions—this stresses the tree and invites pests.
What if I miss fall pruning? Can I still do it in winter or spring?
Yes! Winter pruning (while dormant) is ideal for heavy cuts, but avoid pruning in late winter (Feb–March) if buds are swelling—this can stimulate early growth vulnerable to frost. Spring pruning (just before bloom) is a backup, but prioritize fall/winter to reduce disease spread and promote stronger growth.
How do I know if I’m pruning too much or too little?
Remove no more than 25% of the tree’s canopy in a single session to avoid stress. Look for dead, diseased, or crossing branches—these are top priorities. For young trees, focus on structural shaping (open center or central leader). Over-pruning weakens the tree; under-pruning risks crowding and poor fruit production.
Will pruning in fall affect next year’s apple harvest?
Not if done correctly! Fall/winter pruning boosts next year’s yield by improving airflow, sunlight, and energy storage in roots. However, avoid heavy cuts if your tree is already stressed (e.g., from drought or pests). For fruit-bearing trees, time cuts to post-harvest (after apples are picked) to let the tree recover before dormancy.
How do I prevent my pruning cuts from getting infected?
Use sterilized tools (rubbing alcohol or bleach solution) and make cuts at a 45° angle just outside the branch collar. Seal larger wounds with pruning sealant (optional for small cuts). Prune on dry days to let cuts dry quickly, and avoid pruning if rain is forecasted within 24 hours.
Wrapping up and next steps
Fall pruning is your secret weapon for nurturing a thriving apple tree!
By mastering the four key cuts—removing dead wood, thinning crowded branches, shaping for sunlight, and heading back for growth—you’ll set your tree up for year-round health and bountiful harvests. 🍏✨ The effort pays off in stronger structure, better fruit production, and fewer pests or diseases down the road.
Now that you’re armed with the tools, techniques, and timing, it’s time to roll up your sleeves!
Grab your pruners, mark those branches, and give your apple tree the care it deserves. Start small—even a few strategic cuts make a difference—and watch your tree flourish for seasons to come. Happy pruning! 🌳💪