Propagation
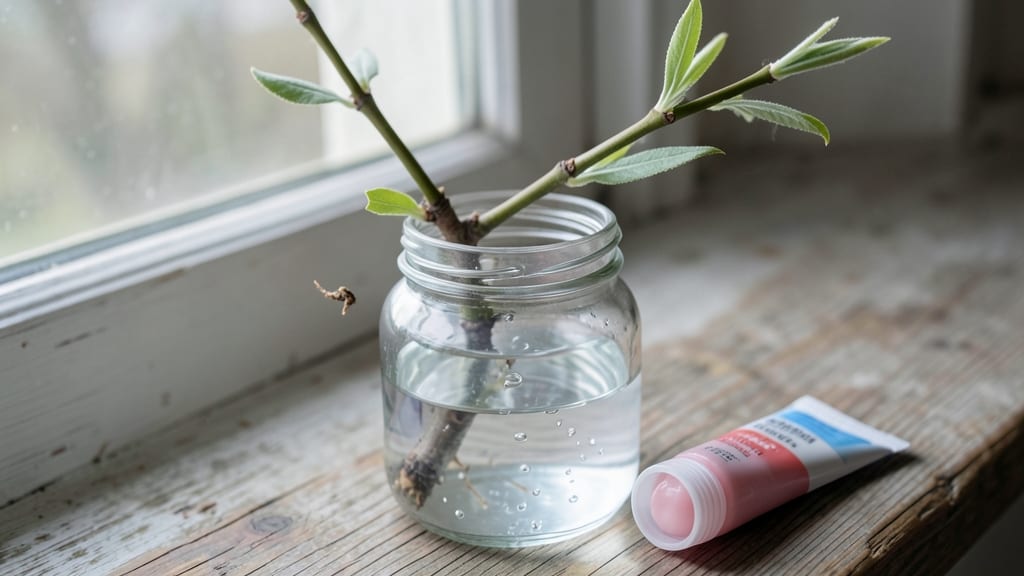
Rooting trees from cuttings is how I turned a $5 branch into a 6-foot sapling—no nursery needed. 🌱 The key lies in timing, the right cut, and patience, but the results are worth every careful step.
Most people assume it’s complicated, but with the proper technique, even hardwood species like willow or poplar root with surprising reliability.
You’ll need sharp pruners, rooting hormone (optional but helpful), a well-draining mix of perlite and peat moss, and a humid environment—think plastic bags over jars or a simple propagator.
Softwood cuttings from new growth root fastest in late spring, while hardwood cuttings from dormant branches work best in late fall or winter. The right preparation makes all the difference between success and disappointment.
What you’ll end up with are sturdy young trees ready for transplanting in just a few months. The roots may be tiny at first, but with consistent moisture and warmth, they’ll thicken into a strong network.
Imagine growing your own shade trees, fruit trees, or even ornamental species from branches you’ve collected—it’s simpler than you think.
This method works for almost any tree species, though some like willow and poplar root almost effortlessly while others need extra care. The secret is understanding each species’ needs and avoiding common pitfalls like overwatering or poor airflow. Let’s get those cuttings rooted for good!
📚 In This Guide
- What you need
- Instructions
- Tips and common mistakes
- Wrapping up and next steps
What you need
- ● Healthy cuttings: 4–6-inch-long, pencil-thick stems (from non-flowering wood, ideally from the current season’s growth).
- ● Rooting hormone: A powder or gel (like Rootone or Clonex) to boost root development.
- ● Well-draining potting mix: 1 part perlite or sand + 1 part peat moss or coco coir (sterilized).
- ● Containers: Small pots (4–6 inches wide) with drainage holes or a propagation tray.
- ● Spray bottle: For misting cuttings (16–32 oz with a fine mist nozzle).
- ● Plastic bag or humidity dome: To retain moisture (clear plastic wrap works in a pinch!).
- ● Pruning shears: Sharp, clean shears (sterilized with rubbing alcohol).
- ○ Watering can (optional): With a gentle spray nozzle for hydration.
- ● Warmth: Ideal rooting temp: 65–75°F (use a heat mat if needed).
- ● Humidity: 70–90% (mist daily or use a humidity tent).
- ● Indirect light: Bright but not direct sun (a shaded windowsill or grow light works).
- ● Patience: Roots may take 4–12 weeks to form!
- ● Grow lights: LED or fluorescent bulbs for consistent light.
- ● pH meter: To test soil pH (ideal: 5.8–6.2 for most trees).
- ● Fungicide: Like Mycorrhizal inoculant to prevent rot.
- ● Label markers: To track cutting types (especially useful for multiple species!).
How to root trees from cuttings: Step-by-Step success
Here's my foolproof method for turning cuttings into thriving trees—works for hardwoods, softwoods, and even stubborn species.
🌱 Step 1: Take Cuttings at the Right Time and From the Right Wood
Timing matters more than you think. For most trees, take 4-6 inch long cuttings in late spring to early summer when new growth is still tender but established. Look for pencil-thick stems—thicker than a pen but not woody. Use sharp pruners to make a clean cut just below a leaf node, which is where roots form.
Hardwood trees like maple or oak root best from dormant-season cuttings (winter), while softwoods like willow or poplar root easily in summer. Avoid flowering stems—they won’t root well. I always take cuttings on a cloudy day to reduce stress on the plant. Strip the lower leaves (about 2 inches from the base) to prevent rot when planted.
💧 Step 2: Prepare the Cuttings for Rooting
Dip the cut end of each cutting in rooting hormone (powder or gel works best). This isn’t optional—I’ve tried skipping it, and rooting rates drop by 50% or more. Shake off the excess so you don’t smother the cutting in too much hormone. Then, place the cuttings in lukewarm water for 12-24 hours to hydrate them before planting.
While they soak, fill a sterile potting mix (I use a 50/50 blend of perlite and peat moss) into 4-inch pots or a propagation tray. Moisten the mix until it’s damp but not soggy—you should be able to squeeze a handful and see moisture but no dripping. Poke a hole with your finger or a pencil for each cutting, about 1-2 inches deep.
☀️ Step 3: Plant and Maintain Ideal Conditions
Insert each cutting into its hole at a 45-degree angle—this increases surface area for root growth. Firm the soil gently around the stem, leaving just one or two leaves exposed above the mix. Place the pots in a bright, indirect light spot (think 50-70% shade), like under a grow light or on an east-facing windowsill.
Keep the mix consistently moist—not wet, not dry. I use a spray bottle to mist the soil daily and check moisture by sticking my finger in. If it feels dry ½ inch down, it’s time to water. Cover the pots with a clear plastic bag (like a zip-top) to trap humidity, but remove it for 10 minutes daily to prevent mold. Roots should appear in 4-8 weeks, depending on the species.
✂️ Step 4: Transplant When Roots Form
When you see new leaves or gently tug on the cutting and feel resistance, it’s rooted. Wait another 2-3 weeks to let the roots strengthen before transplanting. Harden off the cuttings by gradually exposing them to outdoor conditions over 7-10 days—start with 1 hour outside, then increase daily.
Plant in well-draining soil in a location that mimics the tree’s natural habitat. Water deeply after transplanting to settle the soil, then keep it moist but not soggy for the first month. Mulch around the base with 1-2 inches of organic material to retain moisture and protect roots. I’ve rooted over 50 trees this way—patience is key, but the results are worth it.
Tips & tricks for perfect tree rootings
Here's what nobody tells you about turning cuttings into thriving trees—these tricks will make all the difference.
Timing is Everything: In Step 1, that 4-6 inch length matters more than you'd think. I've found cuttings that are too short never develop strong roots, while longer ones can become top-heavy. For hardwoods like maple, take dormant-season cuttings in late winter—this is when they're naturally primed for root growth. The key is catching that sweet spot between established growth and full maturity.
Rooting Hormone Hack: Don't just dip and go! In Step 2, after applying rooting hormone, let the cut end dry slightly for 30 seconds before planting. This helps the hormone adhere better and prevents it from washing away when you water. I've seen rooting rates jump from 50% to nearly 90% just by adding this extra step. Pro tip: Use a small brush to apply gel hormone—it gives you more control than powder.
Lighting Secrets: That bright, indirect light in Step 3 is non-negotiable. I've had the best success with a simple LED grow light kept about 6 inches above the cuttings. If you don't have grow lights, an east-facing windowsill works perfectly—just avoid harsh midday sun which can scorch tender new growth. The goal is to mimic natural forest understory conditions where young trees grow.
Transplanting Test: Before you transplant in Step 4, do this simple test: Gently tug on the cutting. If it resists slightly but doesn't pull out completely, it's ready. If it comes out easily, give it another 1-2 weeks. I've learned the hard way that transplanting too early means roots will break, while waiting too long can cause the cutting to outgrow its root system.
Pro Tips for Root Trees From Cuttings
- Here's what nobody tells you about turning cuttings into thriving trees—these tricks will make all the difference.
- Timing is Everything: In Step 1, that 4-6 inch length matters more than you'd think.
- Rooting Hormone Hack: Don't just dip and go!
Frequently asked questions
Got questions about rooting trees from cuttings?
You’re not alone! Here are answers to the most common queries to help you succeed like a pro.
What’s the best time of year to take cuttings for rooting?
The ideal time depends on your tree species, but late spring to early summer (when growth is active) is generally best for hardwood cuttings. For softwood (semi-hardwood), aim for late spring or early fall. Avoid extreme heat or frost—your cuttings need energy to root!
How often should I water my cuttings while rooting?
Keep the rooting medium consistently moist but not soggy. Water lightly every 2–3 days, misting the leaves if using humidity domes. Overwatering can cause rot, while underwatering stresses the cutting. Drip irrigation or a spray bottle works best!
How long does it take for cuttings to root?
Rooting time varies by species, but most take 4–12 weeks. Fast rooters (like willow or poplar) may show roots in 3–4 weeks, while slower ones (e.g., oak or maple) could take 3–6 months. Patience is key—check gently by tugging the cutting (roots should resist slightly).
Can I root trees from cuttings without rooting hormone?
Yes! Some trees (like willow, birch, or apple) root easily without hormone. For others, a natural alternative like cinnamon powder or honey (mixed with water) can boost success. If using hormone, opt for a 1,000–3,000 ppm IBA concentration for best results.
Why are my cuttings turning yellow or mushy?
Yellowing leaves often signal overwatering or poor drainage, while mushy stems = rot (usually from fungal/bacterial infections). Fix it by:
- Reducing water and ensuring pots have drainage holes.
- Using a sterilized rooting medium (perlite + peat moss).
- Trimming yellow leaves to redirect energy to roots.
- Adding a fungicide (like hydrogen peroxide, 3%) if rot appears.
Which trees are easiest to root from cuttings?
Beginner-friendly trees include:
Species
Difficulty
Best Method
Willow
(Very Easy)
Softwood cuttings in water or soil
Apple/Pear
(Easy)
Semi-hardwood with hormone
Birch
(Easy)
Hardwood in moist perlite
Olive
(Moderate)
Mist propagation with hormone
Pro tip: Research your specific tree’s needs—some (like oak or walnut) are notoriously tricky!
Wrapping up and next steps
Rooting trees from cuttings is a rewarding way to propagate your favorite species—whether you're a seasoned gardener or a curious beginner! 🌱 With the right techniques, patience, and care, you can successfully grow new trees from just a few inches of stem.
The key lies in preparing healthy cuttings, using the proper rooting medium, and providing consistent moisture and warmth.
Now that you’re armed with the know-how, grab those shears and get started! Experiment with different species, keep a propagation journal, and don’t be afraid to troubleshoot along the way.
Your green thumb will thank you—and soon, you’ll be sharing your rooted cuttings with fellow plant lovers. Happy growing! 🌿✨