
Pruning
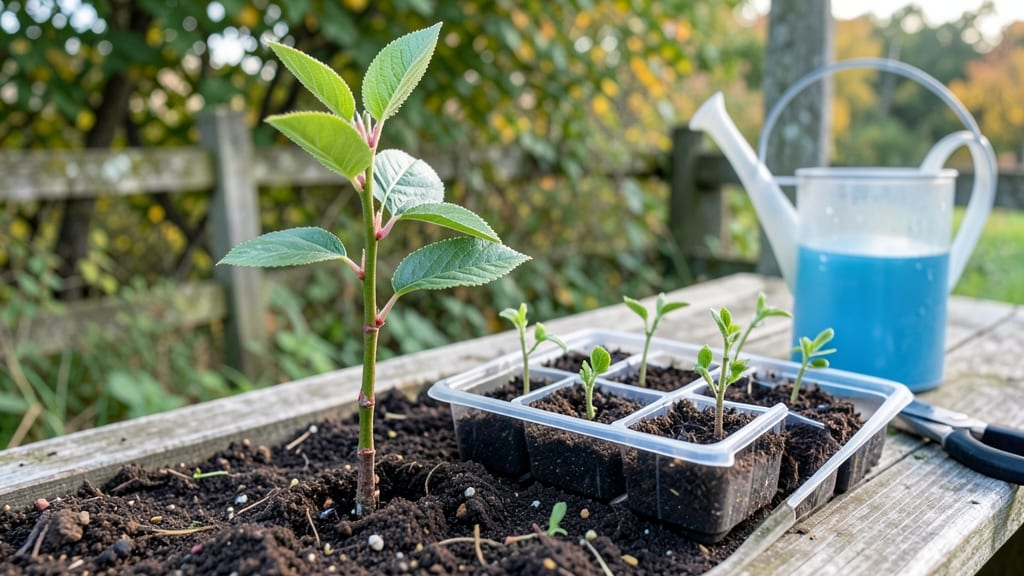
That first cherry tree sprout pushing through damp Pacific Northwest soil could be the start of something extraordinary—if you give it the right conditions. I’ve nurtured my own from a bare root, and with the right soil mix, watering rhythm, and pruning timing, you can too.
The key lies in mimicking the tree’s natural resilience, especially when frost lingers longer than expected.
Start with well-draining soil rich in organic matter—think 50% native soil, 30% compost, and 20% coarse sand—to prevent waterlogged roots that invite rot. Water deeply once a week (or twice in summer heat), letting the top 2 inches dry between sessions.
Sunlight is non-negotiable: 6+ hours of direct light daily, though young trees appreciate afternoon shade in the hottest months. Prune in late winter to shape the tree while it’s still dormant, cutting back to an outward-facing bud to encourage sturdy growth.
By year two, you’ll see vibrant green leaves and branches thick enough to support future fruit. The trick is patience—sweet cherries like Bing take 4-5 years to bear fruit, while sour varieties like Montmorency mature faster.
Watch for signs of stress: yellowing leaves often mean overwatering, while crisp edges signal underwatering. A light layer of mulch keeps moisture steady and roots cool during those unpredictable PNW frosts.
This method works for both backyard orchards and container-grown trees, though dwarf varieties like Stella are perfect for small spaces. The real payoff? A tree that thrives despite the region’s damp, cool climate—and maybe even a harvest of your own cherries someday.
Let’s get that sprout off to the right start.
📚 In This Guide
- What you need
- Instructions
- Tips and common mistakes
- Wrapping up and next steps
What you need
- ● Cherry tree sprout (or seedling): Choose a Prunus avium (sweet cherry) or Prunus cerasus (sour cherry) variety known for cold hardiness (e.g., 'Stella,' 'Montmorency,' or 'Lapins'). Ensure it’s disease-free and well-rooted.
- ● High-quality potting soil: 5–10 gallons of well-draining, organic-rich soil (e.g., Miracle-Gro Garden Soil or a 60/40 mix of compost and perlite).
- ● Garden gloves: A pair of durable, breathable gloves (e.g., Fox River Garden Gloves) to protect your hands during planting and pruning.
- ● Pruning shears: Sharp, bypass-pruning shears (e.g., Fiskars ErgoSoft) for clean cuts on new sprouts or branches.
- ● Shovel or trowel: A round-point shovel for digging planting holes (12–18 inches deep) or a hand trowel for smaller containers.
- ● Mulch: 2–3 inches of organic mulch (e.g., wood chips, straw, or shredded bark) to insulate roots and retain moisture.
- ● Watering can or hose with nozzle: A spray nozzle for gentle watering to avoid damaging tender sprouts.
- ● Frost cloth or row covers: Lightweight, breathable fabric (e.g., Agribon) to protect young sprouts from late frosts (USDA Zones 7–9).
- ● Soil moisture meter: To monitor root-zone hydration (critical in PNW’s rainy/dry cycles).
- ● Epsom salt (magnesium sulfate): 1 tablespoon per gallon of water for foliar spray to boost cherry tree health.
- ● Root stimulator: Products like Mycorrhizal fungi or Rootone to enhance root development.
- ● Staking system: 3–4 ft bamboo stakes + soft ties to support tall sprouts in windy PNW conditions.
- ● Slow-release fertilizer: Balanced 10-10-10 or cherry-specific formula (e.g., Espoma Cherry Tree Food) for spring planting.
Step-by-Step instructions for establishing a frost-resistant cherry tree sprout
Here’s how to nurture a hardy cherry tree from sprout to sturdy young plant in the Pacific Northwest’s challenging climate.
Select and Prepare the Right Sprout Location
Choose a site with full sun exposure (at least 6-8 hours daily) and well-draining soil—cherry trees despise soggy roots. The Pacific Northwest’s damp winters demand slightly elevated ground or a mound to prevent waterlogging. I always test drainage by digging a 12-inch deep hole, filling it with water, and waiting to see if it drains within 24 hours. If not, amend the soil with 2-3 inches of compost and a handful of sand before planting.
Timing matters: Plant your 1-2 year-old bare-root sprout in early spring, once soil temperatures reach 50°F. This gives roots time to establish before summer heat arrives. Avoid fall planting—young trees won’t harden off in time for winter’s frost.
Plant the Sprout with Proper Spacing and Support
Dig a hole twice as wide as the sprout’s root ball but no deeper—burying too deep suffocates roots. Gently loosen the roots if they’re circling and position the sprout so the root flare (where roots meet trunk) sits 2 inches above soil level. This prevents rot and encourages strong trunk development.
Backfill with native soil mixed with 1 part compost to improve fertility. Water deeply to settle the soil, then add a stake (if needed) and secure the tree with soft ties—never use wire that can girdle the trunk as it grows. Space multiple trees 20-25 feet apart to allow airflow and reduce disease risk.
Water Deeply and Mulch for Frost Protection
Water once weekly for the first month, soaking the 12-inch deep root zone each time. After that, reduce to every 10-14 days unless the weather is unusually dry. Overwatering in winter causes root rot, while drought stress weakens frost resistance. I check moisture by digging down—soil should feel damp but not soggy.
Apply 3-4 inches of wood chips or straw mulch around the base, keeping it 6 inches away from the trunk to prevent moisture buildup. This mulch layer insulates roots in winter and retains moisture in summer. Replenish mulch annually in early spring to maintain protection.
Prune and Protect Through the First Winter
In late winter (before buds swell), prune any dead, crossing, or weak branches using clean, sharp pruners. Remove no more than 25% of the canopy—cherry trees are sensitive to heavy pruning. Sterilize tools with rubbing alcohol between cuts to prevent bacterial spread.
Wrap the trunk with tree guard or burlap in late fall to shield it from voles and frost cracks. Pacific Northwest winters bring freeze-thaw cycles that split young bark. I also mound 6 inches of soil around the base for extra insulation, removing it in early spring once frost danger passes.
Monitor Growth and Adjust Care Annually
By year 2, your sprout should show new growth of 12+ inches annually. Fertilize lightly in early spring with 10-10-10 (1 tablespoon per year of tree age) to support root and shoot development. Avoid high-nitrogen fertilizers—they encourage leafy growth at the expense of frost hardiness.
Watch for aphids or tent caterpillars in spring; blast them off with water or use neem oil as a preventative spray. Cherry trees are prone to silver leaf disease—remove infected leaves immediately and sterilize pruners. With consistent care, your tree will reach bearing age in 4-6 years.
Tips & tricks for perfect cherry tree sprout establishment
Nurturing a cherry tree sprout into a frost-resistant tree in the Pacific Northwest requires attention to detail. Here are my hard-learned strategies to ensure your young tree thrives.
Site Preparation is Everything: Don't rush the drainage test in Step 1—this is critical for preventing root rot. If your soil fails the 24-hour drainage test, consider creating a raised bed instead of just amending with compost and sand. The Pacific Northwest's wet winters demand this extra precaution. I've seen trees fail within months when planted in poorly draining soil, despite all other care being perfect.
Root Flare Position Matters: When planting in Step 2, the root flare (where roots meet trunk) should sit exactly 2 inches above soil level—no higher, no lower. This subtle positioning prevents girdling and encourages strong trunk development. I use a small stick marked at 2 inches to verify placement before backfilling. This small detail makes a huge difference in long-term tree health.
Winter Protection Strategy: The 6-inch soil mound around the base in Step 4 is your best defense against Pacific Northwest freeze-thaw cycles. Remove it promptly in early spring once frost danger passes—leaving it too long can suffocate roots as temperatures warm. I mark the mound removal date on my calendar to avoid forgetting.
Pruning Precision: In Step 4, when pruning in late winter, focus on removing only dead, crossing, or weak branches. Never remove more than 25% of the canopy—cherry trees are particularly sensitive to over-pruning. I sterilize my pruners with rubbing alcohol between each cut to prevent spreading silver leaf disease, which can devastate young trees.
Pro Tips for Cherry Tree Sprout
- Nurturing a cherry tree sprout into a frost-resistant tree in the Pacific Northwest requires attention to detail.
- Site Preparation is Everything: Don't rush the drainage test in Step 1—this is critical for preventing root rot.
- Root Flare Position Matters: When planting in Step 2, the root flare (where roots meet trunk) should sit exactly 2 inches above soil level—no higher, no lower.
Frequently asked questions
Got questions about nurturing your cherry tree sprout in the Pacific Northwest’s chilly climate? You’re not alone! Here are answers to the most common queries—from frost survival to pruning pitfalls.
How cold can a young cherry tree sprout tolerate before frost damage?
A newly planted Prunus avium (sweet cherry) or Prunus cerasus (sour cherry) sprout can handle brief dips to 15–20°F with proper prep. However, prolonged exposure below 10°F risks bud death. For extra protection, wrap the trunk with burlap and mulch heavily (4–6 inches) around the base. Young trees are more vulnerable—prioritize late fall/winter mulching!
When is the best time to prune a cherry tree sprout to encourage strong growth?
Prune your sprout dormant season (late winter/early spring)—just before buds swell (typically February–March in the PNW). Avoid summer pruning, as it stresses the tree. Focus on removing dead, crossing, or weak branches while shaping the canopy. Pro tip: Use sterilized tools (rubbing alcohol) to prevent bacterial canker. For frost-resistant varieties like Montmorency, limit cuts to 25% of the foliage to avoid stunting.
What should I do if my cherry tree sprout shows signs of frost damage?
Frost damage appears as brown, mushy buds or blackened leaves. If only buds are affected, prune back to healthy wood once growth resumes. For severely damaged branches, cut 6–12 inches below the damage. Apply a balanced fertilizer (10-10-10) in early spring to boost recovery. Warning: Avoid over-fertilizing—it stresses weakened trees. Monitor for pests (like cherry fruit flies) that exploit damaged areas.
Can I grow a cherry tree from a sprout in a container, or does it need to be planted outdoors?
Cherry tree sprouts thrive outdoors but can start in 5-gallon containers for 1–2 seasons if space is limited. Use a well-draining mix (60% soil, 30% compost, 10% perlite) and repot annually. However, they require full sun (6+ hours/day) and cold stratification (expose to temps <40°F for 4–6 weeks) to harden off. Key tip: Transplant to the ground by early fall to establish roots before winter.
Why isn’t my cherry tree sprout growing despite good care?
Stunted growth often signals root issues, nutrient deficiency, or disease. Check for:
- Compacted soil (amend with compost)
- Yellow leaves (nitrogen deficiency—add blood meal)
- Black spots (fungal infection—prune and treat with copper fungicide)
- Girdling roots (loosen soil gently)
If the sprout is under 12 inches tall after 2 years, consider testing soil pH (ideal: 6.0–6.5) or consulting a local WSU Extension agent for PNW-specific advice.
Wrapping up and next steps
Growing a frost-resistant cherry tree sprout in the Pacific Northwest is not just possible—it’s a rewarding journey that brings beauty, flavor, and resilience to your garden. 🌱 By following the right pruning techniques, selecting the best varieties, and preparing for seasonal challenges, you’ll set your young tree up for long-term success.
Now that you’re armed with the knowledge, roll up your sleeves and get planting! Start by choosing your sprouts, then move on to creating an ideal planting plan tailored to your microclimate.
Pro tip: Keep a gardening journal to track your cherry tree’s growth—it’s a great way to refine your approach year after year! 📝