Pruning
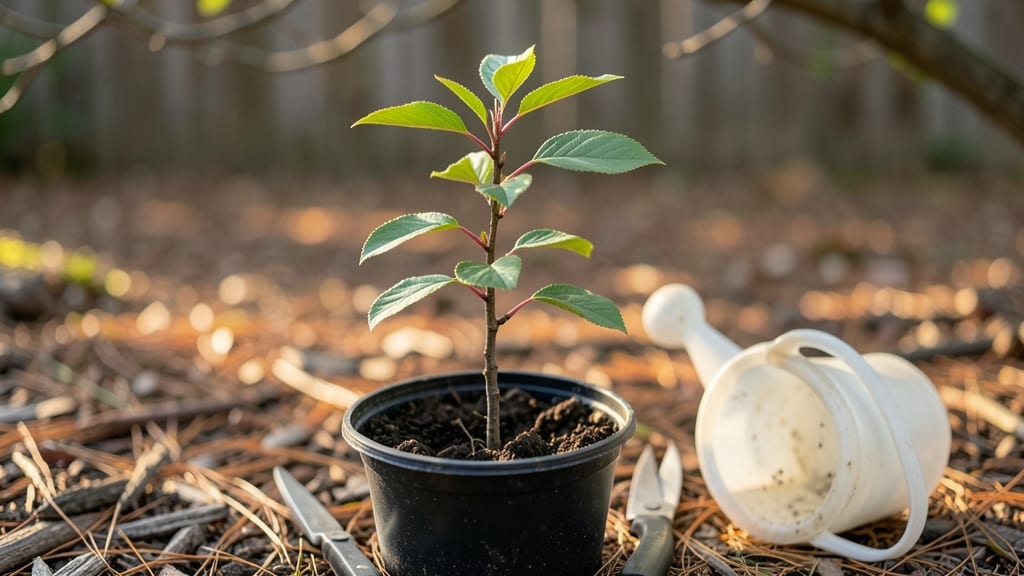
Growing wild cherry tree seedlings in the Pacific Northwest means you're planting for resilience—these trees thrive where others freeze. 🌱 I learned the hard way that skipping soil prep or rushing the planting window can leave seedlings struggling through winter, but the right approach turns them into sturdy, frost-hardy specimens within just a few years.
The key starts with sourcing healthy seedlings—look for sturdy 1- to 2-foot-tall plants with multiple strong stems. Amend your soil with compost to improve drainage, since wild cherries hate soggy roots.
Plant in early fall or late winter when the ground isn't frozen, giving roots time to establish before summer heat arrives.
Once planted, mulch heavily to protect roots from temperature swings, and water deeply but infrequently—overwatering is the fastest way to kill these drought-tolerant trees. Within three years, you'll see a tree tall enough to provide shade and wildlife habitat, with edible cherries appearing by year five or six.
Perfect for both orchards and ornamental plantings, these trees handle the region's wet winters and dry summers better than many introduced species. Just be patient—wild cherries grow slowly at first but reward you with decades of low-maintenance beauty and wildlife support.
📚 In This Guide
- What you need
- Instructions
- Tips and common mistakes
- Wrapping up and next steps
What you need
- ● Wild cherry tree seeds or seedlings: 5–10 seeds (if starting from scratch) or 1–2 healthy 1–2-year-old seedlings (nursery-grown or wild-harvested).
- ● Pro tip: 🌡️ Cold-stratify seeds (40°F for 60–90 days) to mimic winter conditions and boost germination!
- ● Well-draining soil: Mix of 60% native soil, 30% compost, and 10% perlite/sand (1–2 cubic yards for a small orchard plot).
- ● Planting site: Full sun (6+ hours/day) with shelter from strong winds (PNW’s coastal areas can be tricky!).
- ● Slightly acidic to neutral soil (pH 6.0–7.0).
- ● Basic tools: Trowel or small shovel (for seedlings)
- ● Garden fork (for loosening soil)
- ● Watering can or hose with a gentle spray nozzle
- ● Pruners (sterilized, for trimming saplings later)
- ● Mulch: Wood chips or straw (2–3 inches thick) to retain moisture and suppress weeds.
- ● Fertilizer: Balanced 10-10-10 or organic options like compost tea (apply lightly in spring).
- ● Tree guards: Wire cages or cardboard tubes to protect young seedlings from deer/browsing.
- ● pH test kit: To verify soil acidity before planting.
- ● Shade cloth: For seedlings in hot microclimates (e.g., summer in the Willamette Valley).
How to plant wild cherry tree seedlings in the Pacific Northwest
Here’s my go-to method for establishing wild cherry seedlings that thrive through our region’s frost and wet winters.
🌱 Step 1: Choose the Right Site and Timing
Wild cherries love well-draining soil and full sun—at least 6 hours daily. I always pick a spot with afternoon shade if your yard gets intense summer sun, because young seedlings can scorch easily. The best time to plant is in early spring, just as new growth begins, or in early fall before the first frost hits.
Dig a hole twice as wide as the root ball but only as deep. You’ll see the roots spread naturally when you remove the seedling from its container. Loosen the soil at the bottom of the hole with your hands—this helps roots penetrate without compacting. If your soil is heavy clay, mix in a handful of compost to improve drainage.
🪴 Step 2: Prepare the Seedling and Plant Carefully
Gently remove the seedling from its container and tease the roots apart if they’re circling. This prevents girdling as the tree matures. Place it in the hole so the top of the root ball sits 1 inch above ground level. Wild cherries hate wet roots, so elevation helps prevent rot during our rainy winters.
Backfill with the native soil, tamping lightly as you go to eliminate air pockets. Water deeply right after planting—1 gallon per seedling—until the soil settles. You’ll see the ground level drop slightly as it absorbs moisture. Mulch with 2-3 inches of wood chips (but keep it 6 inches away from the trunk to prevent moisture buildup).
☀️ Step 3: Water and Protect Through the First Year
Water every 5-7 days during the first growing season, checking when the top 2 inches of soil feel dry. Overwatering is the biggest mistake—wild cherries are tough but not swamp-loving. In summer, a deep soak once a week is enough unless we’re in a heatwave, then increase to twice.
Young seedlings need protection from deer and frost. I wrap the trunks with tree guards in late fall and remove them in early spring. If a late frost threatens, drape a frost cloth over the tree for a few nights—it’s worth the effort to avoid shock. You’ll see new leaves emerge in early spring, signaling successful root establishment.
✂️ Step 4: Prune and Monitor for Health
Prune in late winter or early spring before buds swell. Remove any dead, crossing, or weak branches with clean cuts just above a bud. Wild cherries respond well to pruning, so don’t hesitate to shape them early. I always sterilize my pruners with rubbing alcohol between cuts to prevent disease.
Watch for signs of stress: yellowing leaves often mean overwatering, while brown edges signal underwatering. If you see aphids or mites, spray with neem oil—it’s organic and effective. After the first year, your seedlings will start looking like proper young trees, ready to handle the Pacific Northwest’s climate.
Tips & tricks for perfect wild cherry seedling planting
These little tricks will help your wild cherry seedlings take root like pros in our Pacific Northwest climate.
Soil Prep Secret: Before planting, test your soil's drainage by digging a small hole and filling it with water. If it doesn't drain within 30 minutes, you need to improve drainage. I've found mixing in a 50/50 ratio of native soil and coarse sand works wonders for our heavy clay areas. This mimics the natural forest floor conditions wild cherries thrive in.
Root Care Technique: When teasing apart circling roots in Step 2, work gently but firmly—you want to straighten them without damaging the delicate root tips. I use my fingers to gently pull the roots outward while holding the seedling steady. This creates a more natural root structure that spreads properly, which is especially important during our wet winters when roots need to establish quickly.
Watering Wisdom: The 5-7 day watering schedule in Step 3 works perfectly for our region, but there's a trick: water deeply in the morning so the soil has all day to dry slightly. This prevents fungal issues that thrive in constantly damp conditions. I've seen seedlings rot when watered in the evening because the moisture doesn't evaporate before nightfall.
Frost Protection Hack: For that late frost protection in Step 3, I keep frost cloths ready in my garage all winter. The key is to drape them loosely—don't press them against the leaves. You want to create a microclimate that traps heat while still allowing some airflow. I've saved several seedlings this way during those surprise spring frosts we get here.
Pro Tips for Wild Cherry Tree Seedlings
- These little tricks will help your wild cherry seedlings take root like pros in our Pacific Northwest climate.
- Soil Prep Secret: Before planting, test your soil's drainage by digging a small hole and filling it with water. If it...
- Root Care Technique: When teasing apart circling roots in Step 2, work gently but firmly—you want to straighten them ...
Frequently asked questions
Got questions about growing wild cherry tree seedlings in the Pacific Northwest? You’re not alone! Here are some of the most common concerns—and straightforward answers—to help you get started with confidence.
How long does it take for wild cherry tree seedlings to grow into mature trees?
Wild cherry seedlings typically take 10–15 years to reach maturity (around 20–30 feet tall). However, they grow 1–2 feet per year under ideal conditions—so patience pays off! In the Pacific Northwest’s cooler climate, growth may be slightly slower, but consistent care (watering, mulching) speeds things up.
Are wild cherry seedlings really frost-resistant? How do I protect them in winter?
Yes! Wild cherries are hardy to USDA Zones 4–7, making them perfect for PNW winters. For young seedlings, mulch heavily with wood chips (3–4 inches) and wrap the trunk with burlap if temps drop below 10°F. Avoid pruning in late fall—wait until early spring to prevent frost damage.
Can I grow wild cherry seedlings from seeds, or should I buy nursery-grown plants?
You can grow from seeds (collect them from ripe cherries, stratify for 60–90 days), but nursery-grown seedlings germinate faster and thrive better. Seeds may take 1–2 years to sprout and grow inconsistently. For reliable results, opt for 1–2-year-old seedlings from local PNW nurseries.
Why are my wild cherry seedlings wilting or turning yellow? Troubleshooting tips.
Yellowing leaves often signal overwatering or nutrient deficiency. Check soil moisture—seedlings prefer well-draining soil. Yellowing at the edges? It’s likely iron deficiency (common in alkaline PNW soils). Amend soil with chelated iron or compost. Wilting? Ensure they’re in partial shade (direct sun can stress young roots).
What’s the best time to transplant wild cherry seedlings in the Pacific Northwest?
Transplant in early spring (March–April) or fall (September–October) when temps are mild. Avoid summer heat or winter frost. Dig a hole twice as wide as the root ball, loosen roots gently, and water thoroughly after planting. Pro tip: Mix compost into the backfill soil for a nutrient boost!
Wrapping up and next steps
Growing wild cherry tree seedlings in the Pacific Northwest is a rewarding journey—especially when you harness their natural frost resilience and adaptability.
Whether you're a seasoned gardener or just starting, these hardy plants offer beauty, wildlife benefits, and low-maintenance charm. Now’s the perfect time to take action! Grab your seedlings, mark your planting spots, and get ready to nurture a thriving tree that will stand strong for decades.
🌱 Next step: Start by choosing the right location, gathering your tools, and following the planting guide—your future wild cherry tree is waiting!