Trees
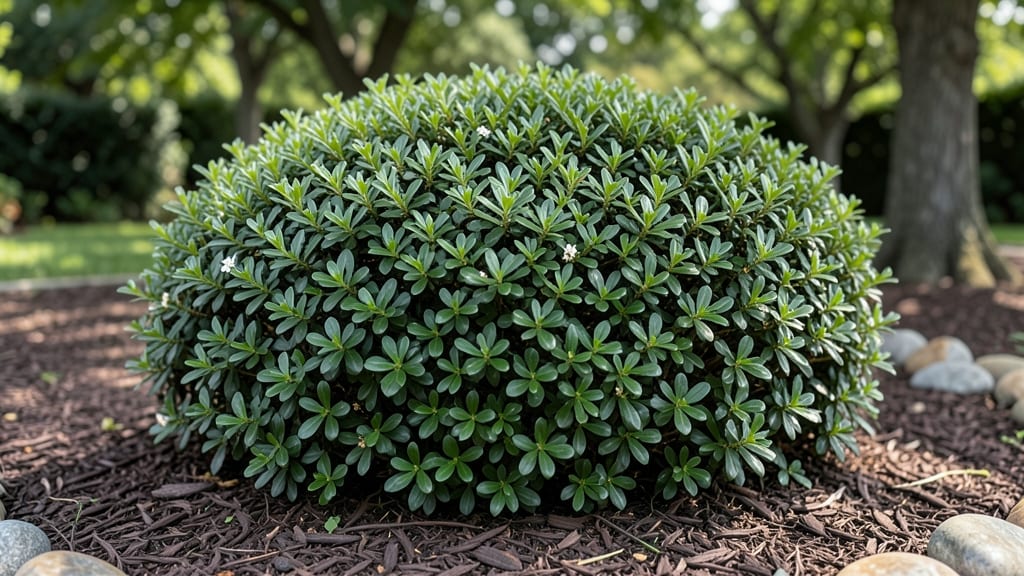
Fast-growing privacy bushes and trees can turn your backyard into a lush, secluded haven—no fence needed. 🌿 I remember standing in my neighbor’s yard, watching how their carefully placed arborvitae blocked the view of their pool while keeping the air fresh and the sunlight filtered.
The right mix of bushes and trees can do the same for you, creating a lush, living barrier that grows taller every year.
You’ll want to focus on plants like bamboo (which can grow 3-5 feet per year), arborvitae (a classic evergreen with 2-3 feet annual growth), or leyland cypress (a towering option that reaches 3-4 feet per season).
Spacing matters too—plant them 3-6 feet apart depending on their mature width, so they fill in quickly without overcrowding. Most of these thrive in full sun to partial shade, and they handle different soil types, making them adaptable to most backyards.
By year two, you’ll have a dense, 6-10 foot tall screen that muffles noise, blocks nosy neighbors, and adds value to your home. The best part? These plants keep growing, so your privacy only gets better over time.
Whether you’re shielding a patio, a pool, or just your morning coffee routine, the right mix of fast growers will give you that cozy, secluded feeling without the upkeep of a wooden fence.
Climate plays a role—coastal areas might lean toward salt-tolerant options like holly, while hotter regions need drought-resistant picks like Texas sage. Start with 3-5 plants for a small yard, and scale up for larger spaces.
The key is patience: in just 1-2 seasons, you’ll have the privacy you’ve been dreaming of.
📚 In This Guide
- What you need
- Instructions
- Tips and common mistakes
- Wrapping up and next steps
What you need
- ● Privacy plants: Choose from fast-growing options like Bamboo, Leyland Cypress, Arborvitae, Hornbeam, or Privet. (Quantity depends on spacing—aim for 3–5 plants per 10 feet of screen.)
- ● Soil amendments: Compost or peat moss (1–2 bags per plant) to improve drainage and fertility.
- ● Mulch: Wood chips or shredded bark (2–3 cubic feet per plant) to retain moisture and suppress weeds.
- ● Watering supplies: Hose with a spray nozzle or a 5-gallon watering can for deep hydration.
- ● Fertilizer: Slow-release granular fertilizer (e.g., 10-10-10) or organic options like fish emulsion.
- ● Digging tools: Shovel (18–24 inches deep) or a post-hole digger for larger plants.
- ● Pruning shears or saw: For trimming roots or shaping plants post-planting.
- ● Gloves & knee pads: To protect hands and knees during planting.
- ● Measuring tape: To ensure proper spacing (typically 3–6 feet apart, depending on plant size at maturity).
- ○ Stakes & twine (optional): For young, tall plants to provide support during establishment.
- ● Sunlight assessment: Confirm your space gets full sun (6+ hours/day) or partial shade, depending on plant needs.
- ○ Soil test (optional but recommended): Check pH and nutrient levels (ideal range: 5.5–7.0 for most privacy plants).
- ● Local regulations: Verify if your area requires permits for planting tall trees or invasive species (e.g., bamboo).
- ● Water source: Ensure easy access to water for the first 2–3 weeks (critical for root establishment).
Step-by-Step instructions for planting fast-growing privacy screens
Here's how I create a lush, effective privacy barrier in just a few seasons.
🌱 Step 1: Select and Prepare Planting Sites
Choose locations with 6+ hours of sunlight daily—most fast-growing privacy plants thrive in full sun. I always measure the area first to determine spacing: 6-10 feet apart for larger trees like Leyland cypress, 3-5 feet apart for smaller shrubs like arborvitae. Mark planting spots with stakes to avoid guesswork later.
Dig holes twice as wide as the root ball and 1-2 inches shallower than the container. Amend the native soil with 2-3 inches of compost mixed into the bottom of each hole. This improves drainage and gives roots an immediate nutrient boost. I like to add a handful of slow-release fertilizer at this stage—it provides steady growth support without burning tender roots.
🪴 Step 2: Plant With Proper Spacing and Support
Remove plants from containers and loosen any circling roots gently with your fingers. Place each plant in its hole so the top of the root ball sits 1 inch above ground level—this prevents soil from settling and burying the trunk over time. Backfill with native soil, tamping lightly every 2 inches to eliminate air pockets.
For larger trees, I install 3-4 temporary stakes per plant, securing them with soft tree ties. The goal is to stabilize the plant without restricting root expansion. Water deeply immediately after planting to settle the soil and eliminate air gaps. You'll know you've done it right when water drains freely from the hole without pooling around the base.
☀️ Step 3: Water and Mulch for Rapid Establishment
Water each newly planted specimen with 5-10 gallons of water, depending on size. I use a soaker hose to deliver moisture slowly and evenly, avoiding surface runoff. After watering, apply 2-3 inches of mulch around the base, keeping it 6 inches away from the trunk to prevent rot. Organic mulch like shredded bark retains moisture and regulates soil temperature—critical for fast growth.
Water 2-3 times weekly for the first 6-8 weeks, until the root system establishes. You'll see new growth within 4-6 weeks if conditions are right. Monitor soil moisture by sticking your finger 2 inches deep—if it feels dry, it's time to water again. This consistent moisture is what fuels rapid vertical growth.
✂️ Step 4: Prune and Fertilize for Dense Growth
Prune new growth to 1/3 of its length in late spring to encourage bushier development. I always use clean, sharp pruners and make cuts just above a leaf node. For trees, remove any crossing branches or those growing inward—this opens the canopy to sunlight and prevents disease. Regular pruning keeps plants dense and upright, maximizing privacy faster.
Apply a balanced fertilizer (10-10-10) in early spring and again in midsummer. Follow package instructions for application rates, but I've found that slightly less is better—over-fertilizing can stress plants and reduce growth. Watch for signs of nutrient deficiency like yellowing leaves (nitrogen) or purple stems (phosphorus), and adjust accordingly.
⏰ Step 5: Monitor and Maintain for Long-Term Privacy
Check plants weekly for pests like spider mites or aphids, especially on new growth. I treat infestations immediately with horticultural oil or insecticidal soap, applied in the early morning when pests are active. Healthy plants grow faster and resist pests better, so don't neglect regular inspections.
By year 3, most fast-growing privacy screens reach maturity, providing full coverage. I recommend a final pruning in early fall to shape the screen and remove any dead or diseased branches. This keeps the plants looking their best and prepares them for winter dormancy. With proper care, your privacy screen will deliver full coverage in just a few seasons.
Tips & tricks for perfect fast-growing privacy screens
A few strategic moves can make all the difference when creating your privacy barrier.
Soil Preparation Secret: Before planting, test your soil's pH—most fast-growing privacy plants prefer a slightly acidic to neutral range (6.0-7.0). If your soil is heavy clay, mix in 3-4 inches of sand with the compost to improve drainage. I've seen plants struggle in compacted soil, even with proper watering. Amending the soil at planting time gives roots the best possible start for that rapid growth we're aiming for.
Planting Depth Matters: In Step 2, when placing your plants, make sure the root flare (where roots meet the trunk) is visible above the soil line. Burying this area can cause rot and stunt growth. I learned this the hard way after watching several plants develop girdling roots from being planted too deep. The 1 inch above ground level guideline ensures proper airflow while preventing soil settling issues.
Watering Strategy: For those first critical 6-8 weeks, I recommend setting up a drip irrigation system or soaker hose on a timer. This ensures consistent moisture without the risk of overwatering. The 2-3 times weekly guideline works for most climates, but adjust based on rainfall—always check that 2-inch soil depth before watering again. Deep, infrequent watering encourages stronger root development, which is what fuels that fast growth we want.
Fertilizer Timing: When applying that 10-10-10 fertilizer in spring and midsummer, I've found that splitting the recommended dose into two applications works better. Give half in early spring when new growth begins, then the second half in late spring. This gradual feeding prevents nutrient burn while supporting steady, healthy growth. Watch those leaves—they'll tell you if you're overdoing it!
Pro Tips for Privacy Bushes And Trees
- A few strategic moves can make all the difference when creating your privacy barrier.
- Soil Preparation Secret: Before planting, test your soil's pH—most fast-growing privacy plants prefer a slightly acid...
- Planting Depth Matters: In Step 2, when placing your plants, make sure the root flare (where roots meet the trunk) is...
Frequently asked questions
Got questions about creating your own natural privacy screen? Here are some of the most common concerns—and their answers—to help you plan with confidence!
What are the fastest-growing privacy bushes and trees for quick results?
For rapid privacy, opt for Leyland Cypress (3-4 feet/year), Bamboo (aggressive but fast), or Thuja Green Giant Arborvitae (2-3 feet/year). Bamboo is the fastest but needs containment—privacy bushes like Forsythia (3-5 feet/year) are easier to manage.
How long does it take for privacy plants to fully block views?
Most privacy trees take 3–5 years to reach full height, but bamboo or Leyland Cypress can provide 60–70% coverage in 1–2 years. Dwarf varieties (like Emerald Green Arborvitae) mature faster but stay shorter. Patience pays off—thicker foliage = better privacy!
Can I plant privacy bushes in small spaces or containers?
Dwarf varieties (e.g., Sky Pencil Holly, Little Gem Magnolia) thrive in containers or tight spaces. For privacy trees, ensure pots are 12–18 inches deep and use well-draining soil. Just monitor watering—containers dry out faster than ground plantings.
What’s the best way to troubleshoot slow growth in privacy plants?
Slow growth often stems from poor soil, underwatering, or root competition. Test soil pH (most prefer 6.0–7.0), amend with compost, and mulch to retain moisture. If roots are bound, gently loosen soil or transplant. Fertilizer (balanced 10-10-10) in spring can also boost growth!
Are there low-maintenance alternatives to traditional privacy hedges?
Yes! Native plants like Eastern Red Cedar or American Holly require less water and pest control. Evergreen shrubs (e.g., Inkberry Holly) stay green year-round with minimal pruning. For zero-maintenance, vine-covered trellises (e.g., Clematis) offer seasonal privacy without upkeep.
Wrapping up and next steps
Creating a natural privacy screen with fast-growing bushes and trees is a rewarding way to enhance your outdoor space while adding beauty and value to your property. 🌿 Whether you opt for dense evergreens like Bamboo or Arborvitae, or faster-growing options like Leyland Cypress or Willow, the key is choosing plants that align with your climate and maintenance preferences.
Ready to transform your yard? Start by sketching a rough layout, selecting your plants, and getting them in the ground—your future privacy oasis awaits! Which fast-growing option will you choose?