Pruning
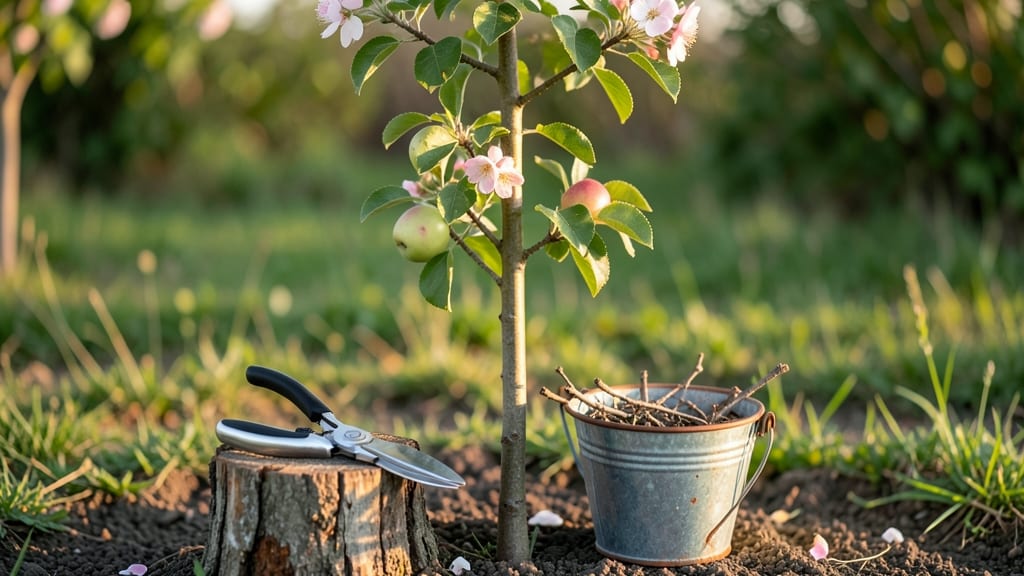
Pruning columnar apple trees transforms them from awkward sticks into fruit-loaded vertical masterpieces. ✂️ I learned this the hard way after my first tree grew lopsided—until I discovered the right cuts make all the difference.
These narrow trees need different care than standard varieties, and timing matters more than you’d think.
The secret lies in three key cuts: removing dead wood in winter, thinning crowded branches in early spring, and light shaping after harvest. You’ll only need basic tools—a sharp bypass pruner, loppers, and rubbing alcohol for cleaning cuts.
The goal? Keep the tree’s natural column shape while encouraging fruit production along its entire length.
By summer, you’ll see plump apples forming where you made those strategic cuts, and the tree will look like a living sculpture. The best part? Columnar apples bear fruit earlier than standard trees, and with proper pruning, they’ll keep producing for decades. Here’s exactly how to do it right.
Whether you’re dealing with a 3-foot dwarf or a 10-foot standard, the same principles apply—just adjust the tool size. Mistakes happen, but I’ll show you how to spot them before they become problems. Let’s get those branches under control!
📚 In This Guide
- What you need
- Instructions
- Tips and common mistakes
- Wrapping up and next steps
What you need
- ● Pruning shears – Bypass pruners (sharp, 6-8" blades) for clean cuts on small branches.
- ● Loppers – Long-handled (24-30") for thicker branches (up to 2" diameter).
- ○ Hand saw – Pruning saw with curved blade for stubborn, larger limbs (optional but handy).
- ● Gloves – Heavy-duty, cut-resistant to protect against thorns and rough bark.
- ● Disinfectant – Rubbing alcohol (70%+) or bleach solution (1:9 bleach:water) to sterilize tools between cuts.
- ○ Pruning sealant – Optional but recommended for sealing large cuts (e.g., Tanglefoot Tree Wound Pruning Seal).
- ● Safety glasses – To shield eyes from debris.
- ● Ladder or step stool – Sturdy, 6-8 ft tall for reaching higher branches.
- ● Trash bag – For collecting pruned branches and debris.
- ○ Sharpie or masking tape – Optional for marking cuts before pruning.
- ● Choose a dry, sunny day (avoid pruning when branches are wet or frozen).
- ● Check the tree’s growth stage—prune in late winter/early spring (dormant season) or summer after harvest.
- ● Have a clear plan—sketch or visualize where cuts will be made to maintain the columnar shape!
Step-by-Step guide for pruning columnar apple trees
Transform your columnar apple trees into productive, disease-resistant powerhouses with these precise pruning techniques.
✂️ Step 1: Assess and Plan Your Pruning Timeline
Columnar apple trees need pruning three times a year—each with a distinct purpose. Start with late winter (just before buds swell) to remove dead wood and reshape the tree while it's dormant. This is also when you'll spot last year's fruit spurs—those tiny clusters of buds that produce fruit. Mark them with a pencil or flagging tape so you don’t accidentally cut them off later.
Next, summer pruning (6-8 weeks after flowering) focuses on thinning out excess fruit to prevent overburdening the tree. Finally, light maintenance pruning in early fall removes any suckers, water sprouts, or crossing branches that could weaken the tree over winter. Always prune on a dry, calm day—wet tools spread disease, and wind makes cuts messy.
✂️ Step 2: Gather Tools and Sanitize for Disease Prevention
You’ll need sharp, clean tools to make precise cuts without tearing bark. Use bypass pruners for branches under ½ inch thick, loppers for ½ to 2 inches, and a pruning saw for anything thicker. Before you start, sterilize your tools with 70% isopropyl alcohol or a 10% bleach solution (1 part bleach to 9 parts water) to prevent spreading fire blight or other fungal diseases.
Wear gloves—columnar apple trees have thorns, and their sap can irritate skin. Keep a small bucket nearby to collect debris, and disinfect tools between cuts if you’re jumping from one tree to another. I also like to sharpen my pruners weekly—dull blades crush wood instead of cutting cleanly, which invites rot.
✂️ Step 3: Remove Dead, Diseased, or Crossing Branches First
Start at the bottom of the tree and work your way up. Look for dead wood (branches that snap when bent or have no green beneath the bark) and diseased branches (blackened, oozing, or with fungal growth). Cut these out first—they’re priority hazards. Use clean cuts at a 45-degree angle, about ¼ inch above an outward-facing bud or branch collar (the swollen area where the branch meets the trunk).
Next, remove crossing branches—where two limbs rub together. These create open wounds that invite pests and disease. If two branches are growing toward each other, keep the stronger one (the one with better angle to sunlight) and cut the other back to the collar. Never leave stubs—always cut just outside the branch collar so the tree can seal the wound properly.
✂️ Step 4: Thin Out Overcrowded Branches for Airflow
Columnar trees are narrow by design, but overcrowding still happens—especially in the lower third of the tree. Remove up to 25% of the smallest, weakest branches to improve light penetration and air circulation, which prevents fungal diseases like apple scab. Focus on branches growing straight up (they compete with the central leader) and those growing inward (they block sunlight).
When thinning, cut back to a lateral branch or bud—never leave a stub. You’ll see new growth fill in the gaps naturally. If you’re unsure which branch to keep, choose the one with the best angle (slightly outward and upward) and the healthiest buds. Real talk: Less is more—aggressive pruning stresses the tree, so never remove more than 30% of the canopy in one season.
✂️ Step 5: Shape for Fruit Production and Structural Integrity
Columnar trees rely on fruit spurs (short, stubby branches) for production. Never prune these off—they’re your tree’s bread and butter. Instead, lightly trim the tips of vigorous upright shoots (called water sprouts) to redirect energy into fruit production. Use your fingers to feel for the right spot—just above a swollen bud or lateral branch.
For summer pruning, focus on fruit thinning—remove small, misshapen, or clustered apples to leave 6-8 inches between remaining fruit. This ensures larger, higher-quality apples and reduces branch breakage from overloaded limbs. After pruning, apply a thin layer of wound dressing (like pruning sealant) only to large cuts over ½ inch thick—small cuts seal on their own.
⏰ Step 6: Post-Pruning Care and Monitoring
Water the tree deeply after pruning to help it recover, especially if you’ve made large cuts. Avoid fertilizing immediately—pruning wounds need time to heal before they can absorb nutrients. Instead, mulch lightly (2-3 inches) around the base, keeping it 6 inches away from the trunk to prevent rot.
Monitor the tree weekly for new growth and signs of stress (yellowing leaves, wilting, or oozing sap). If you notice epinasty (cupping of leaves) or stunted growth, you may have over-pruned—give the tree time to recover before next season. Here’s the thing: Columnar trees are forgiving, but consistency is key. Stick to this schedule, and you’ll have abundant fruit and a tidy shape for years.
Tips & tricks for perfect columnar apple tree pruning
A few strategic moves will help you avoid common mistakes and transform your pruning from basic maintenance to a true orchard management skill.
Seasonal Timing Secret: The three-pruning schedule—late winter, 6-8 weeks after flowering, and early fall—is non-negotiable for columnar trees. In Step 1, when you're marking those fruit spurs in winter, use bright pink flagging tape instead of pencil. It's more visible against the bare branches and won't fade in sunlight. I learned this the hard way after losing several spurs to accidental cuts during summer pruning.
Tool Technique: For Step 2's sanitation, I keep a small spray bottle of 70% isopropyl alcohol in my pruning kit. After each cut—especially when moving between trees—I give my tools a quick spray and wipe with a clean rag. This prevents cross-contamination of diseases like fire blight between branches. The key is consistency: if you skip this between cuts, you're essentially painting with a dirty brush.
Branch Selection Strategy: When you're thinning in Step 4, focus on branches that grow at angles greater than 45 degrees from vertical. These branches get better sunlight exposure and produce higher-quality fruit. Use your hand as a guide: if you can't easily fit your palm between two branches, one needs to go. This creates that perfect open center that prevents fungal diseases while maximizing fruit production.
Post-Pruning Recovery: In Step 6, after your deep watering, add a handful of composted oak leaves to the mulch. Oak leaves release tannins that help deter pests while slowly breaking down. I've seen trees recover from heavy pruning up to 30% faster when using this method. Just remember to keep that mulch 6 inches away from the trunk to prevent rot.
Pro Tips for Pruning Columnar Apple Trees
- A few strategic moves will help you avoid common mistakes and transform your pruning from basic maintenance to a true orchard management skill.
- Seasonal Timing Secret: The three-pruning schedule—late winter, 6-8 weeks after flowering, and early fall—is non-negotiable for columnar trees.
- Tool Technique: For Step 2's sanitation, I keep a small spray bottle of 70% isopropyl alcohol in my pruning kit.
Frequently asked questions
Got questions about pruning your columnar apple trees? You’re not alone! Here are some of the most common concerns—and straightforward answers—to keep your trees thriving.
When is the best time to prune columnar apple trees?
Prune columnar apple trees in late winter or early spring (just before buds swell) for best results. Light pruning can also happen in summer to correct growth, but avoid heavy cuts then. Never prune in fall—it invites disease and pests.
How much can I cut back my columnar apple tree?
Columnar trees are low-maintenance, but you can remove up to 25% of the canopy in a single session. Focus on dead, crossing, or overcrowded branches. Avoid drastic cuts—columnars are naturally compact! Pro tip: Use sharp tools to make clean cuts at a 45-degree angle just above an outward-facing bud.
Will pruning reduce my apple harvest?
Not if done right! Pruning improves fruit quality by increasing airflow and sunlight. However, over-pruning (especially in the first year) can temporarily reduce yield. Prune lightly in Year 1 to establish structure, then adjust gradually.
What if my tree gets diseased after pruning?
Sterilize tools with rubbing alcohol before/after cuts to prevent spread. Remove all infected branches (don’t leave stubs!) and dispose of them. Apply copper fungicide if needed, and avoid pruning during wet weather.
Can I prune columnar apple trees in containers?
Yes! Container-grown columnars need similar pruning but may require more frequent adjustments due to limited space. Watch for root-bound stress—prune roots gently if growth slows. Tip: Repot every 2–3 years for optimal health!
Wrapping up and next steps
Pruning your columnar apple trees doesn’t have to be intimidating—it’s all about timing, technique, and a little patience! 🍏 With the right tools, seasonal care, and a focus on open growth, you’ll keep your tree healthy, productive, and looking its best year after year.
Now that you’re armed with the know-how, grab those shears and get pruning—your future harvests will thank you!
Ready to take it further? Start small—pick one tree this season and refine your skills. Before you know it, you’ll be a pruning pro, and your orchard will be the talk of the neighborhood! 🌱