
Pruning
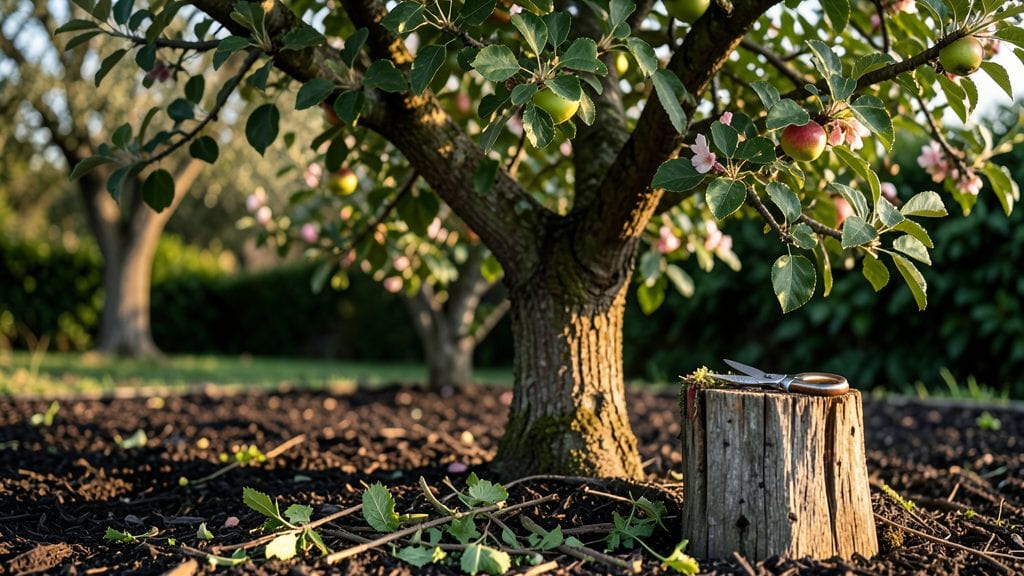
A properly pruned apple tree isn’t just about shaping—it’s the difference between a handful of fruits and a bountiful harvest that lasts all season. I’ve pruned orchards for over a decade, and the trees that get regular cuts produce 20-30% more apples while staying healthier and disease-resistant.
The key isn’t just when or how you cut, but why you’re making each cut in the first place.
You’ll need sharp tools—a pruning saw for thick branches, loppers for medium-sized limbs, and hand pruners for smaller cuts—plus a disinfectant to prevent spreading disease between cuts. Timing matters too: late winter or early spring is ideal, before new growth starts, though light pruning can happen in summer if needed.
The goal is to open the canopy for sunlight and air circulation, which means removing dead, crossing, or weak branches first.
After pruning, your tree will reward you with stronger branches that support heavier fruit loads and fewer disease issues from improved airflow. You’ll see new growth within weeks, and by next harvest season, the difference in fruit size and quantity will be obvious.
The first year might feel like a lot of work, but the long-term benefits—fewer apples falling prematurely, easier access for harvesting, and a tree that lives longer—make it worth every cut.
This method works for both young trees you’re shaping and mature ones needing maintenance. Whether you’ve got a single backyard apple tree or a small orchard, the principles stay the same. Let’s get into the exact steps so you can see the difference for yourself next harvest.
📚 In This Guide
- What you need
- Instructions
- Tips and common mistakes
- Wrapping up and next steps
What you need
- ● Pruning shears: Bypass pruners (sharp, 6-8 inch blades) for small branches (up to ½ inch thick). Quantity: 1 pair.
- ● Pruning saw: Curved-tooth or folding saw for thicker branches (½ inch to 2 inches). Quantity: 1.
- ● Loppers: Bypass or anvil type (for branches ¾ inch to 2 inches thick). Quantity: 1 pair.
- ○ Pruning sealer: Optional but helpful (e.g., tree wound paint or pruning sealant) to prevent disease in larger cuts. Quantity: Small bottle (4-8 oz).
- ● Gloves: Heavy-duty gardening gloves (cut-resistant for protection). Quantity: 1 pair.
- ● Safety glasses: Protective eyewear to shield against debris. Quantity: 1 pair.
- ● Disinfectant: Rubbing alcohol (70%+) or bleach solution (1 part bleach to 9 parts water) to sterilize tools between cuts. Quantity: Small spray bottle or rag.
- ● Twine or zip ties: For temporary support if you’re training young branches. Quantity: Small roll.
- ○ Marking twine or flags: Optional (to tag branches for future reference). Quantity: Small pack.
- ● Ladder or step stool: Sturdy and tall enough to reach higher branches safely. Quantity: 1 (if needed).
- ● Trash bags: For collecting pruned branches (to keep your workspace tidy). Quantity: 1-2 large bags.
- ● Know your apple tree variety (some prefer different pruning styles).
- ● Check the best pruning time for your climate (dormant season is ideal for most regions).
- ● Review your tree’s current structure (identify dead, crossing, or overcrowded branches).
- ● Have a clear plan (sketch a rough diagram if helpful!).
How to prune an apple tree for maximum fruit production
Here’s my go-to method for pruning apple trees—tested over years of growing my own fruit. The goal is to shape the tree for airflow, sunlight, and strong branch structure that produces better fruit.
Prune in Late Winter Before Bud Break
Timing matters most—prune your apple tree in late winter (just before buds swell) when the tree is still dormant. This prevents disease spread and minimizes stress. I use sterilized pruning shears (cleaned with rubbing alcohol) to cut branches at a 45-degree angle, about ¼ inch above a bud or lateral branch. The angle helps water run off the cut instead of pooling.
Remove any dead, diseased, or crossing branches first. These are easy to spot—they’re brown, brittle, or rubbing against other limbs. I also look for suckers (shoots growing from the base) and water sprouts (vertical shoots) and cut them out completely. These compete with the main structure for energy and rarely bear fruit.
Open the Canopy for Sunlight and Airflow
Next, focus on the tree’s center. Apple trees need sunlight to reach all branches—without it, fruit stays small and disease thrives. Thin out branches to create an open vase shape, removing any that grow inward or cross others. Aim for 6-12 inches of space between branches. You’ll know you’re doing it right when you can see light filtering through the center.
If a branch is too thick to remove entirely, cut it back to a lateral bud (a side bud) to encourage new growth. Avoid leaving stubs—these invite rot and pests. I always step back after pruning to check my work: the tree should look balanced, with no heavy clusters of branches on one side.
Encourage Fruit Production on Scaffolding Branches
Apple trees bear fruit on scaffolding branches—the main limbs that form the tree’s structure. Look for branches that are at least ½ inch thick and growing at a 45-60 degree angle from the trunk. These are your future fruit producers. If a scaffolding branch is too upright (over 60 degrees), it’s less stable and bears poorly. Cut it back to a lower bud to redirect growth.
On younger trees, I focus on selective pruning to develop 3-5 strong scaffold branches. On mature trees, I prune to renewal—cutting back older branches to encourage new, fruit-bearing wood. This keeps the tree productive for decades. Watch for fruit spurs (short, stubby branches covered in buds)—these are where most apples form, so protect them.
Light Summer Pruning for Disease Prevention
After the initial winter prune, do a light cleanup in early summer (June-July) to remove any suckers, water sprouts, or diseased wood that appeared after bud break. This prevents pests and diseases from spreading. I also thin out overcrowded fruit clusters—leave 4-6 apples per cluster to ensure they grow large and healthy. Too many apples compete for nutrients, leading to small, poor-quality fruit.
Summer pruning is gentler. Avoid heavy cuts—just shape and maintain what you’ve already done. If you notice dieback (dead branches) during the growing season, prune those out immediately to prevent fungal infections. Always sterilize your tools between cuts to keep the tree healthy.
Maintain Year-Round with Minimal Cuts
Between pruning seasons, keep an eye out for deadwood, weak growth, or branches rubbing together. Remove these as soon as you spot them—small cuts heal faster than large ones. I also mulch around the base (using the 3 inches of organic mulch) to retain moisture and protect roots, which supports the tree’s overall health.
In fall, do a final inspection and prune any branches that look stressed or diseased. Avoid heavy pruning in fall—it stimulates new growth that won’t harden off before winter. Instead, focus on sanitation and light shaping. A well-pruned apple tree should look balanced, open, and full of energy—ready for another year of fruit production.
Tips & tricks for properly pruned apple trees
A few well-timed strategies will help you avoid the most common pruning mistakes and ensure your apple tree thrives for years to come.
Timing is Everything: Late winter pruning (just before buds swell) is critical because the tree is dormant, reducing stress and disease risk. If you miss this window, avoid pruning during spring when the tree is actively growing—this can invite pests and diseases. I've learned the hard way that summer pruning should only be light maintenance, never heavy structural work.
Cutting Technique Matters: Always make clean cuts at a 45-degree angle about ¼ inch above a bud or lateral branch. This angle prevents water from pooling on the cut, which can lead to rot. I use sterilized pruning shears to prevent spreading disease between cuts. For larger branches, consider using a pruning saw—it gives you more control and reduces tearing of the bark.
Visual Cues for Success: When opening the canopy, step back frequently to check your work. You should see light filtering through the center of the tree—this means you've created the open vase shape that allows sunlight to reach all branches. For scaffolding branches, look for ones at least ½ inch thick growing at a 45-60 degree angle; these are your future fruit producers.
Year-Round Maintenance Strategy: Between pruning seasons, keep an eye out for deadwood, weak growth, or branches rubbing together. These small cuts heal faster than large ones and prevent bigger problems later. I make it a habit to inspect my trees every few months—it only takes 10 minutes but saves hours of work down the road.
Pro Tips for Properly Pruned Apple Tree
- A few well-timed strategies will help you avoid the most common pruning mistakes and ensure your apple tree thrives for years to come.
- Timing is Everything: Late winter pruning (just before buds swell) is critical because the tree is dormant, reducing stress and disease risk.
- Cutting Technique Matters: Always make clean cuts at a 45-degree angle about ¼ inch above a bud or lateral branch.
Frequently asked questions
Got questions about keeping your apple tree thriving with the right pruning? Here are some answers to common concerns—plus a few pro tips to make the process smoother!
When is the best time to prune an apple tree?
The ideal times are late winter (just before buds swell) or early spring. Avoid pruning in fall, as wounds may not heal before winter. Summer pruning (after harvest) is fine for shaping but focus on removing water sprouts and thinning fruit clusters.
How do I know which branches to cut?
Look for these key signs:
- Dead or diseased branches (no leaves, discoloration, or oozing sap)
- Crossing or rubbing branches (they’ll damage each other over time)
- Overcrowded growth (remove branches growing inward or too close to the trunk)
- Suckers or water sprouts (fast-growing vertical shoots at the base or trunk)
Always cut back to a bud or side branch—never leave a stub!
What if I missed the winter pruning window?
Don’t panic! Light pruning in early summer (after harvest) is better than none. Focus on:
- Removing suckers and water sprouts (they drain energy)
- Thinning fruit clusters to improve size/quality
- Avoid heavy cuts—wait until next winter for major shaping.
Pro tip: If pruning in summer, do it on a dry, calm day to reduce stress on the tree.
Will pruning reduce my apple harvest?
Not if done correctly! Pruning improves fruit quality and yield by:
- Increasing airflow (reduces disease like apple scab)
- Encouraging larger, sweeter fruit (fewer clusters = more resources per apple)
- Opening the canopy to sunlight (better ripening)
Warning: Over-pruning (removing >25% of foliage) can stress the tree—stick to 15–25% max per year.
How do I clean and sterilize my pruning tools?
Diseases like fire blight spread easily. After each cut:
- Wipe blades with a 70% alcohol or bleach solution (1 part bleach to 9 parts water).
- Scrape off old sap/resin with a pruning saw or sharp knife.
- Store tools in a dry place to prevent rust.
Bonus: Keep a separate tool for diseased branches to avoid cross-contamination.
Wrapping up and next steps
Pruning your apple tree isn’t just about shaping—it’s about boosting health, fruit quality, and long-term growth. By following the right techniques year-round, you’ll encourage stronger branches, better airflow, and a bountiful harvest for years to come. 🍏✨
Ready to take action? Grab your pruners, review your notes, and start with just one branch—confidence grows with every cut! For extra guidance, bookmark this guide or share it with fellow gardeners. Happy pruning!